Nowadays Cloud Computing and Microservice have become very popular concepts and almost all organizations are investing in and adapting them very fast. Currently, there are only a few popular cloud providers in the market and Cloud Foundry is one of them. It is a PaaS service where we can easily deploy and manage our applications and the Cloud Foundry will take care of the rest of the cloud-based offerings like scalability, high availability, etc.
Today we will learn to deploy the spring boot application in Cloud Foundry starting from setting up Cloud Foundry in the local workstation. There are many cloud foundry distributions currently available and in this article, we will mainly concentrate on the Pivotal Cloud Foundry platform called Pivotal Web Services.
1. What is Cloud Foundry?
Cloud Foundry is an open-source platform as a service (PaaS) that provides you with a choice of cloud, developer frameworks, and application services. It is open source and it is governed by the Cloud Foundry Foundation. The original Cloud Foundry was developed by VMware and currently, it is managed by Pivotal, a joint venture company by GE, EMC, and VMware.
Now since Cloud Foundry is an open source product many popular organizations currently provide this platform separately and below is the list of current certified providers.
- Pivotal Cloud Foundry
- IBM Bluemix
- HPE Helion Stackato 4.0
- Atos Canopy
- CenturyLink App Fog
- GE Predix
- Huawei FusionStage
- SAP Cloud Platform
- Swisscom Application Cloud
2. Cloud Foundry Installation for Windows
Here are the installation steps for Windows, for other operating system, Cloud Foundry has a very good documentation which we can easily follow.
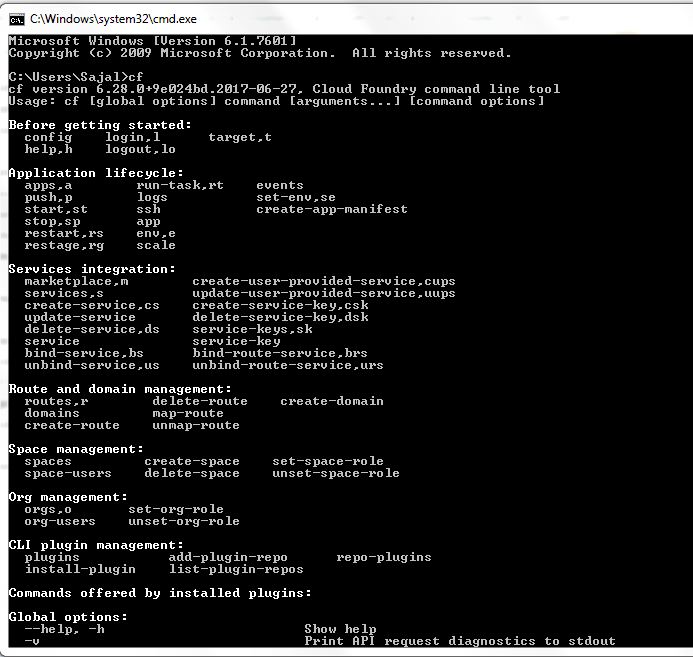
The cloud foundry works very well from command prompt and cloud foundry has provided one command line tool called cf which does almost all the activities for us. So to make this tool (cf command) available in local workstation, first we need to install and configure the Cloud Foundry Command line (CLI) interface.
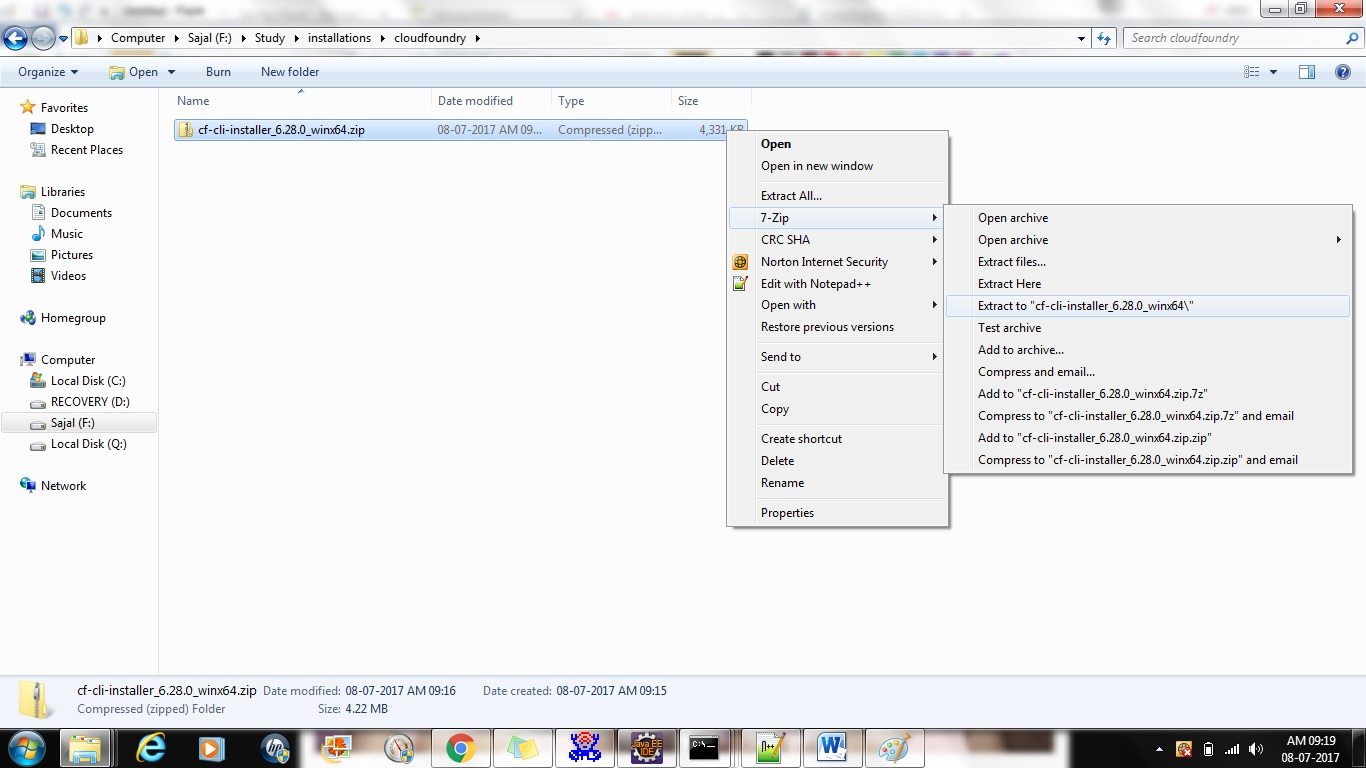
- Download the CF Windows installer. It will prompt for the download. Save the zip file distribution.
- Unpack the zip file to a suitable place in your workstation.
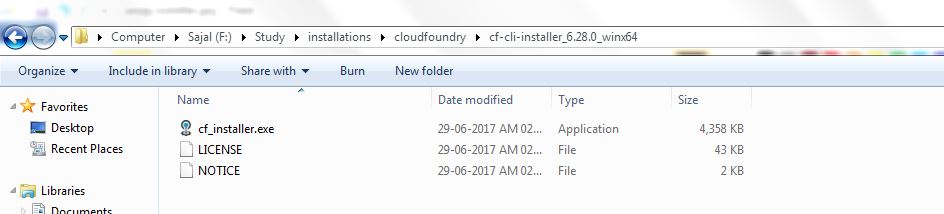
After successfully unzip operation, double cick on the cf CLI executable.
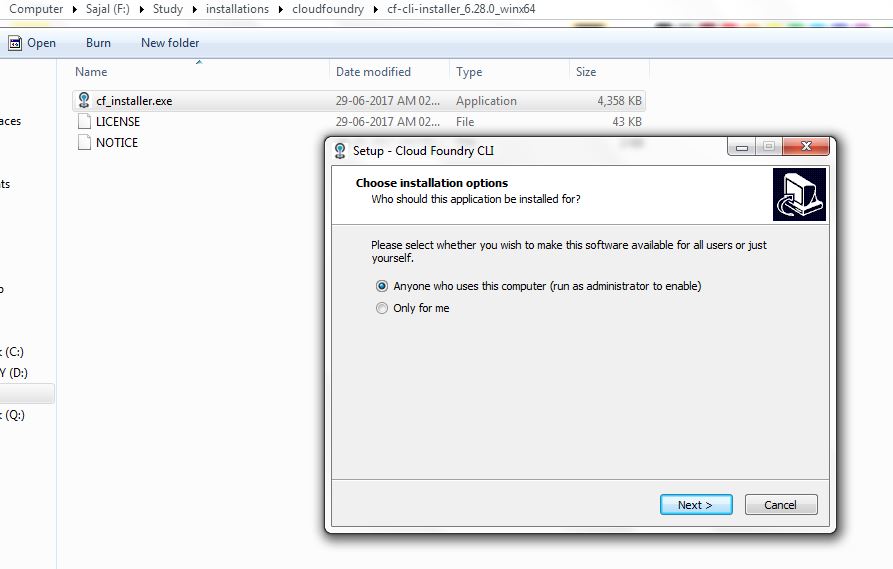
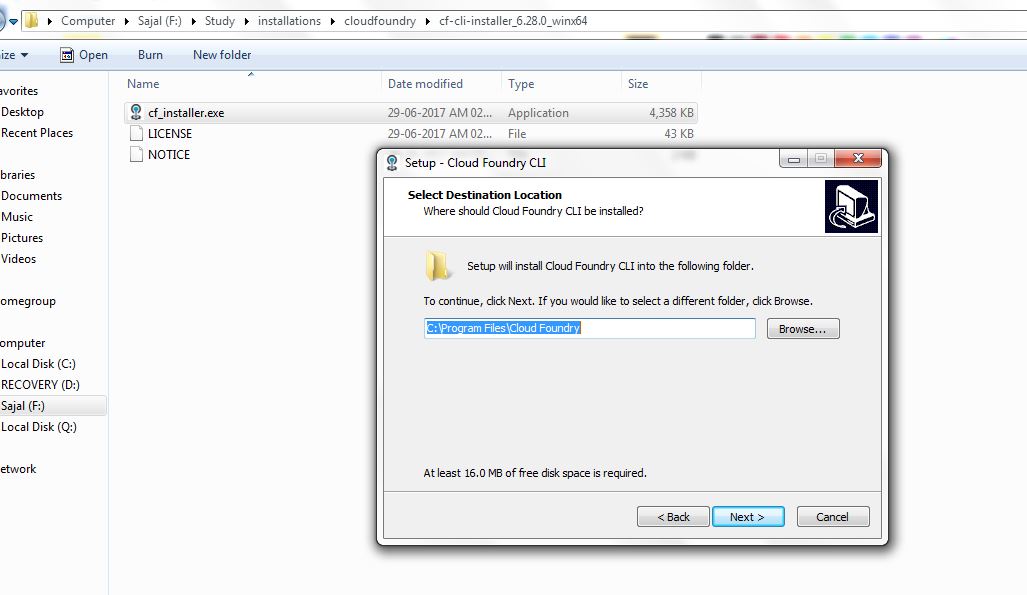
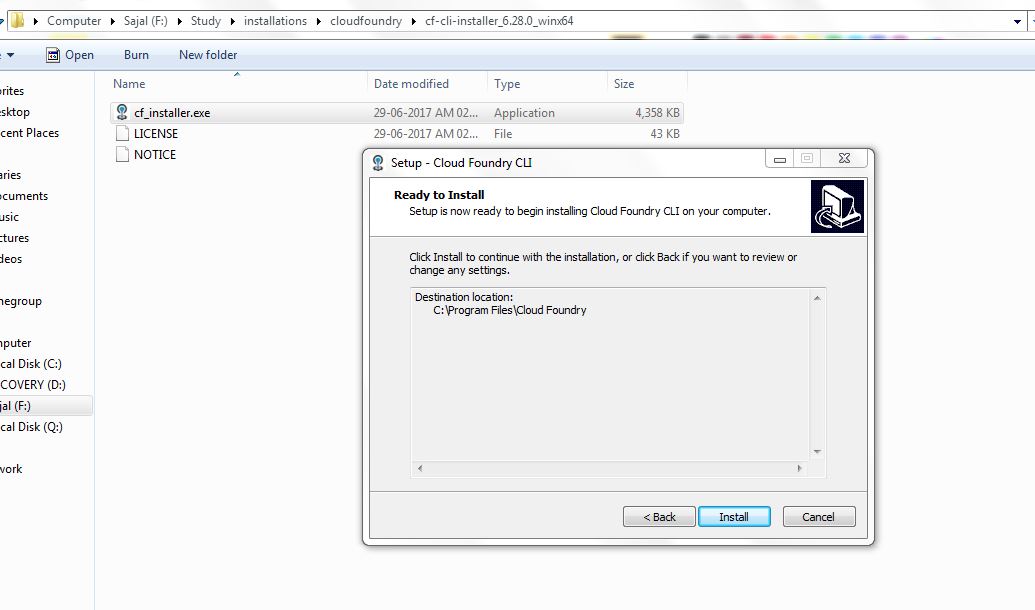
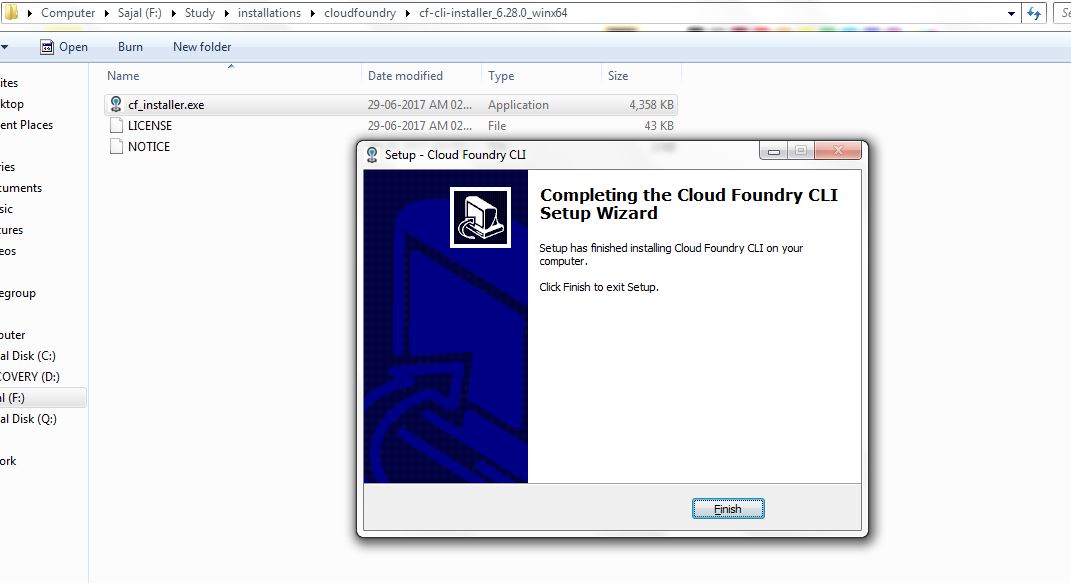
When prompted, click Install, then Close. Here are the sample steps for the same. This is very straight froward, you can select the default values.
Verify the installation by opening a terminal window and type cf. If your installation was successful, the cf CLI help listing appears. This indicates that you are ready to go with any cloud foundry platform from your local workstation.
We will now proceed with Pivotal Web service account sign up and development of a sample application and push to cloud foundry.
3. Setup PWS Console
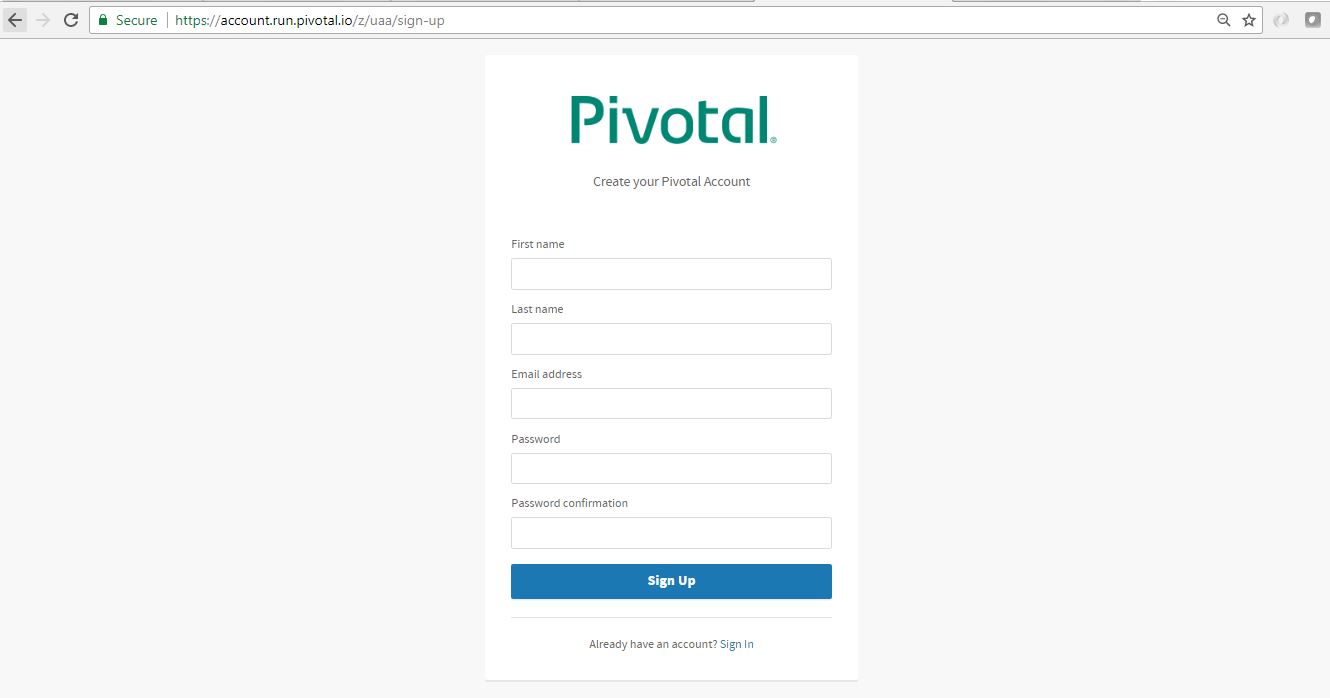
Now we need to create one account in Pivotal in order to deploy our application in Pivotal Cloud Foundry Platform. We need to register in the below page to start with the signup process. It is free and it will just ask for some very common things like email address, name etc.
Once sign up is completed, we can log into the console through the log in screen of the pivotal web service console.
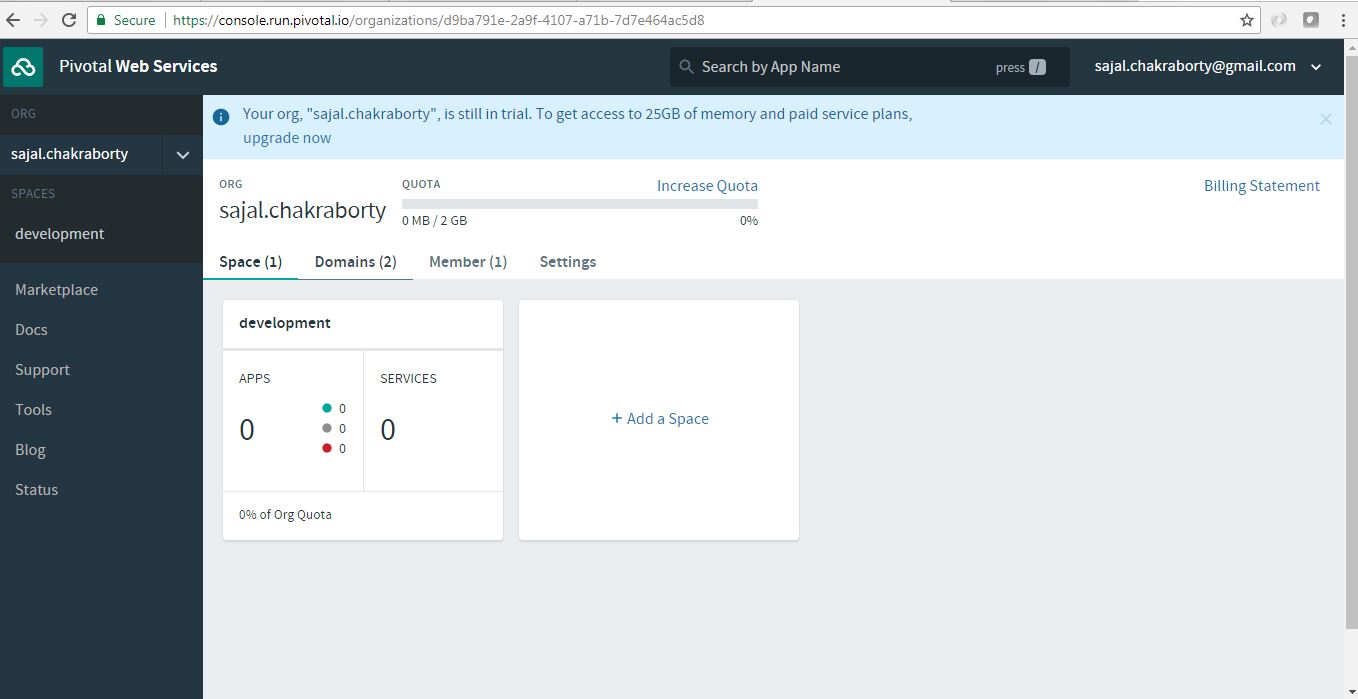
After providing logon credentials successfully we will get into the cloud foundry console where we can see all the deployed applications, can monitor the applications and do many more activities. Here we need to add org and space etc. which is very straightforward and self-describing. Below is one sample console screen after login.
Currently no applications are deployed as we have not yet pushed any application.
4. Login and Logout from PWS Console using CLI
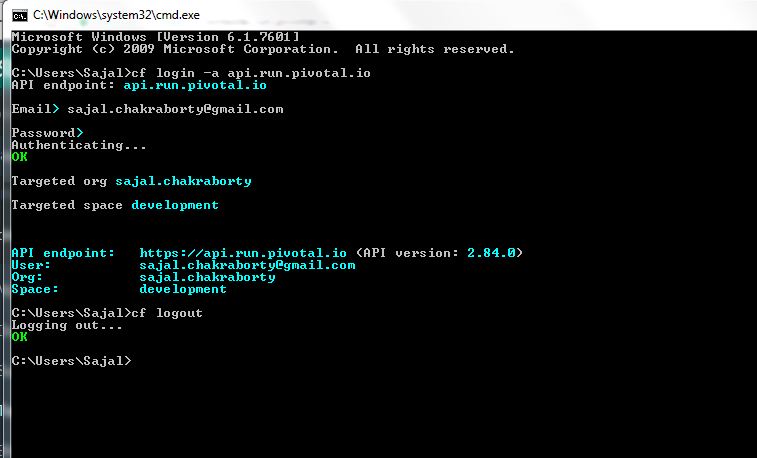
- Login to PWS – We will use
cf login -a api.run.pivotal.iocommand to login to pivotal web service console from CLI tool that we have installed in our local workstation. It will logon the CLI tool to PWS platform so that we can deploy and manage our applications from our workstation. After giving command, it will ask for registered email and password and once provided successfully, it will logon to the platform. - Logout from PWS Console – We will use command
cf logoutto logout from the platform, once we have all the work done for that session.
//To login

>> cf login -a api.run.pivotal.io

//To logout

>> cf logout
Here is the login and logout looks like from command prompt.
5. Create Spring Boot Application
We will now create one Spring boot application and will deploy to PWS console and access from Cloud Foundry itself. We will create an application which will expose one simple REST endpoint, which we will test from our workstation once deployed in Pivotal Web Service Platform.
5.1. Technology Stack
We will use below technology stack for the spring boot application development and testing.
- Spring Boot
- Spring REST
- Maven
- Eclipse
- Cloud Foundry CLI
- Web Browser
5.2. Generate Spring boot application
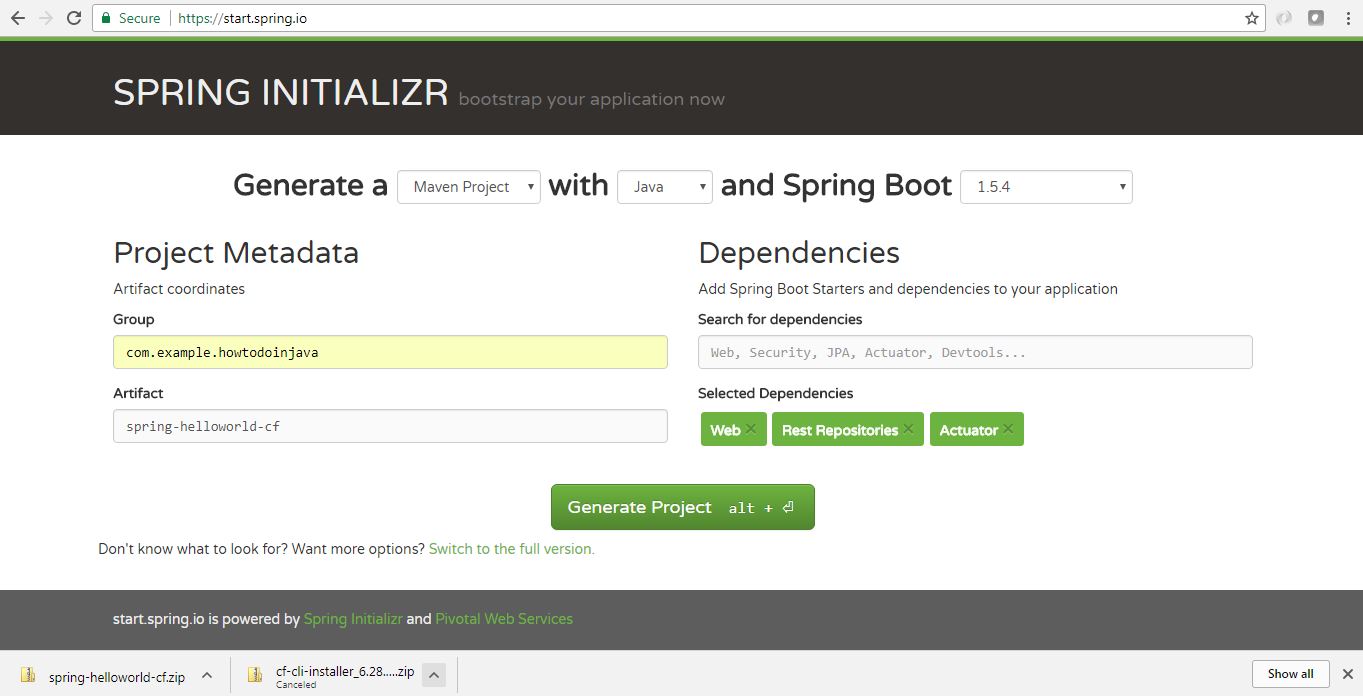
Start with spring boot initializer portal which is a great starting point for creating any spring boot based application. Here we will choose only Config server starter pom. The screen shot is something like this. With this configuration, once we generate the project, one zip file will be downloaded, which we will simply import in eclipse after unzipping.
Import the project to eclipse as existing maven project. Let maven download the dependencies and setup class path entries for you.
5.3. Add REST Controller and Endpoint
We need to add simple REST endpoint to test the deployment from cloud foundry. Open boot application class that has already provided by the automated project generation SpringHelloworldCfApplication.java and add the below lines to add one simple endpoint which will just echo something based on the input.
Final class will look like below.
package com.example.howtodoinjava.springhelloworldcf;

import java.util.Date;

import org.springframework.beans.factory.annotation.Value;
import org.springframework.boot.SpringApplication;
import org.springframework.boot.autoconfigure.SpringBootApplication;
import org.springframework.web.bind.annotation.RequestMapping;
import org.springframework.web.bind.annotation.RequestParam;
import org.springframework.web.bind.annotation.RestController;

@SpringBootApplication
public class SpringHelloworldCfApplication {

	public static void main(String[] args) {
		SpringApplication.run(SpringHelloworldCfApplication.class, args);
	}
}

@RestController
class MessageRestController {

	@RequestMapping("/hello")
	String getMessage(@RequestParam(value = "name") String name) {
		String rsp = "Hi " + name + " : responded on - " + new Date();
		System.out.println(rsp);
		return rsp;
	}
}
5.4. Project Configuration
Add Context path and required properties in bootstrap.properties file in src\main\resources directory and add two properties there.
server.contextPath = /hello
management.security.enabled = false
This will set one context path /hello for the application and management.security.enabled=false will disable security for management endpoints of spring boot like /env, /refresh etc.
5.5. Test locally
Finally build and test the application in Local in an embedded tomcat container. To do this, start the application as spring boot application.
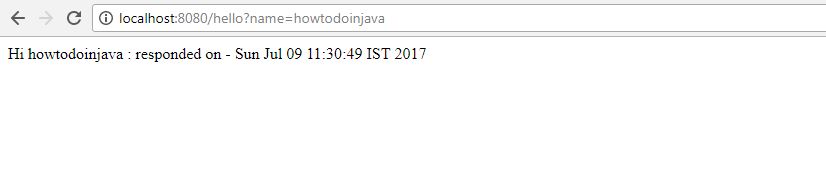
Go to browser and type http://localhost:8080/hello?name=howtodoinjava. It should echo the name along with some greeting message and response process time.
Now we will push [deploy] the application in the pivotal cloud foundry where we have registered already.
6. Deploy Spring Boot Application in Cloud Foundry Platform
As we have Cloud Foundry CLI already configured, we will use CLI cf push command to deploy the application in Cloud Foundry console.
6.1. Login to PWS Console
To do that open command prompt and go to maven application’s home directory and use cf login -a api.run.pivotal.io command to login to pivotal web service console.
It will ask for the registered credentials and finally log on to the console.
6.2. Push Application to Console
Now we need to push the application with the command cf push.
cf push spring-helloworld-cf -p target\spring-helloworld-cf-0.0.1-SNAPSHOT.jar
This will deploy the application to the already logged in PWS console from the previous step.

Read the full console log for push command in attached log file.
6.3. Verify Application Deployment
Verify into PWS console to check that the newly deployed application is showing up. If everything went fine in the previous steps then, screen will look like this.
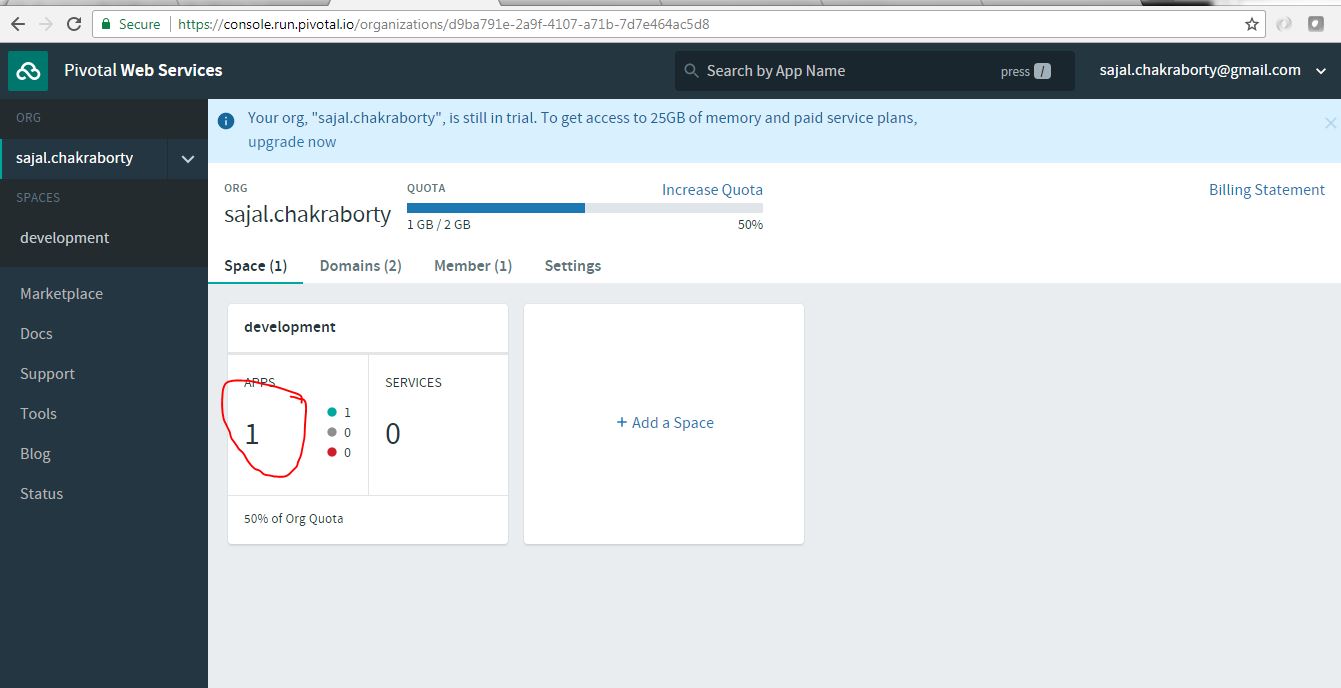
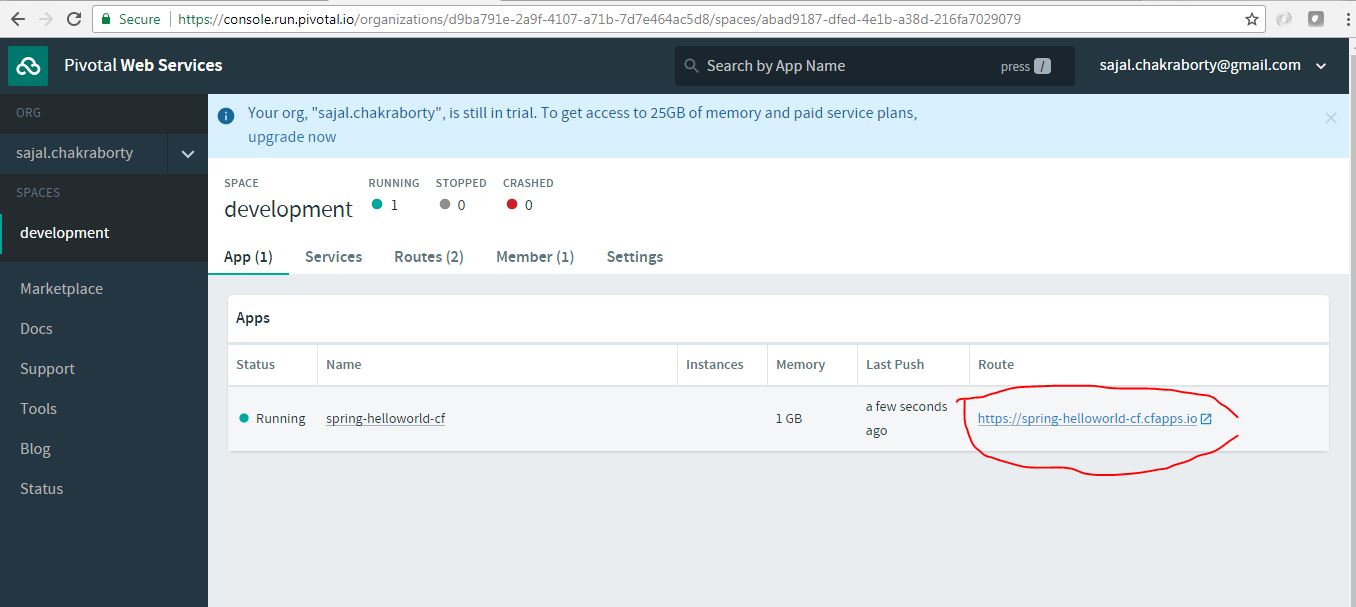
Now click on the Apps section highlighted in the previous step to go to the application details screen. Below view will be shown and it will show the url where application has been deployed as highlighted. Note this url to test it from browser. In this case it will be somethig like . This URL will change based on the application name we choose.
6.4. Test REST Endpoint
Now to the browser and access the application with the url host published in the cf console. For this application url is .

Congratulations !! You have successfully deployed your first spring boot application into Pivotal Cloud Foundry Platform.
7. Summary
So we have successfully able to develop and deploy one spring boot application in Pivotal Cloud Foundry console and able to access the same from our local workstation. Also we did the cf CLI configuration and registered in PWS trial account.
That’s all about this topic. I suggest you to now deploy your own application on Cloud Foundry and test.
Drop me your questions in comments section.
Happy Learning !!
Comments