
Learn to export an existing realm as a JSON file from the Keycloak server, and also to import a previously exported realm file with clients, policies and users. For demo purposes, we are using a Keycloak server instance running as a docker container.
1. Exporting a Realm
To export a realm, make sure it is already present in the Keycloak server. Begin the export process by launching the bash prompt for the docker container.
docker exec -it <container-id> bashNext, run the /bin/kc.sh script to launch the export process. You can check out all the export options and arguments for custom requirements.
The following command will export the realm name “howtodoinjava” including all the configured users in this realm. It will save the exported JSON file into the location ‘/opt/keycloak/data/import‘ with the name howtodoinjava-realm.json.
/opt/keycloak/bin/kc.sh export --dir /opt/keycloak/data/import --realm howtodoinjava --users realm_fileWe can use the following options in place of realm_file to change the export strategy:
- different_files: export users into different JSON files. By default. 50 users are exported into each JSON file. You can change this number using –users-per-file flag.
- skip: skips exporting the users.
- realm_file: export users into the same file as the realm settings.
- same_file: export users and realm data into separate files, thus two files are created at the end.
If required, we can copy and backup this realm file to a separate location as follows. The following command will copy the realm file into ‘c:/temp’ directory.
docker cp <container-id>:/opt/keycloak/data/import/howtodoinjava-realm.json c:/temp/howtodoinjava-realm.json2. Importing a Realm
The best way to import a realm is using the user interface of a running Keycloak server instance. Login to the administrator console, and create a new realm with the same name as given in the realm file.
Additionally, select the “Resource file” as a previously exported realm file, as discussed in the previous section.
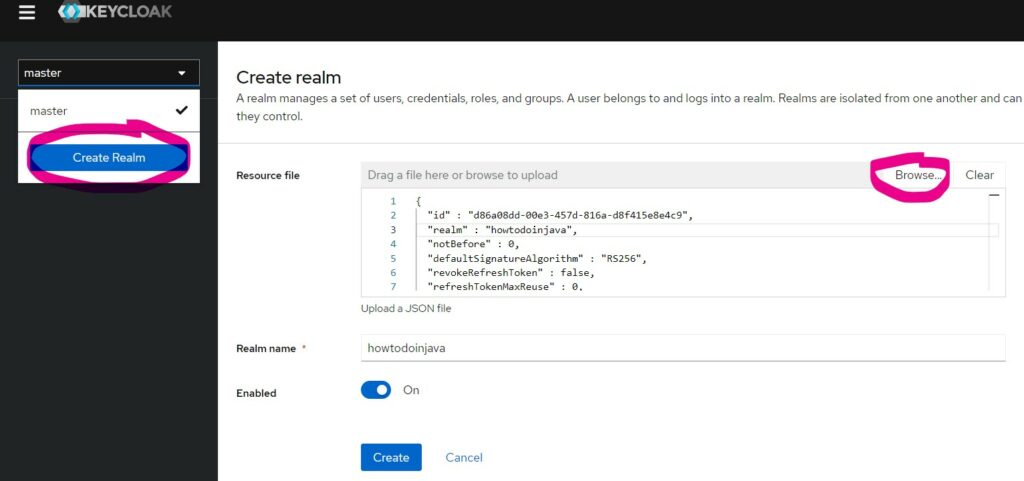
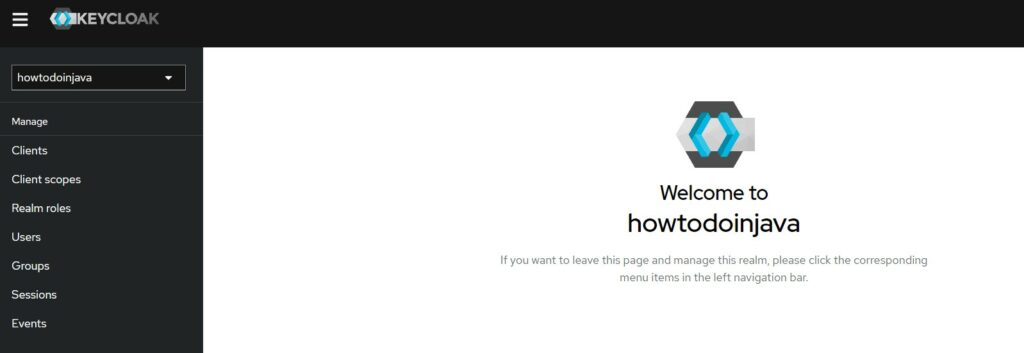
After we click the “Create” button, the realm will be created with all the clients, roles and users successfully.
If you face “Script upload is disabled” then you need to clean the realm file by removing the “authorizationSettings” from the JSON file as explained in this article.
3. Conclusion
In this short Keycloak tutorial, we learned to export a realm into a JSON file, and then import a realm into the Keycloak server. There are plenty of options for various usecases of importing and exporting realm which you can check out in the official documentation.
Happy Learning !!
There are two things what I want:
I’ve been googling “export keycloak realm with users” “export keycloak users”.
There is only one thing: how to stop the keycloak server so that it is possible to export the realm and\or the users in the realm?
Lot of people have this issue!
You need to identify the process ID of the running Keycloak server using ps or pgre commands. And then kill the process.
ps aux | grep keycloakkill
If keycloak is running as Docker container then it is easier. Use
docker stop container_id_or_nameto stop the container running Keycloak.That’s not working!
That’s what all the others say as well or…
I’m working with docker.
This what I’m doing:
first attempt from the windows – cmd as administrator:
c:\> docker ps -a
Response:
CONTAINER ID IMAGE
736279e6c835 quay.io/keycloack/keycloak: 21.1.1
c:\> docker exec -it 736279e6c835 bash
bash-5.1$ docker stop 736279e6c835
Response: docker: command not found.
So inside the container you can’t stop the container, which I it’s logically right, I think.
//—————————-
Second attempt from the windows – cmd as administrator:
c:\> docker stop 736279e6c835
Response: 736279e6c835 // Docker is stopt, also on the desktop
c:\> docker exec -it 736279e6c835 bash
Response: Error response from daemon: container 736279e6c835dae328b50fd65d40cde5caf42028ea5b6225b6f4127685910991 is not running
When the container is stopt, than I don’t have access to the container, to run the kc.sh inside the container.
Do I missed something? Or were I’m going wrong?
This is expected behavior since Docker commands are meant to be run on the host system. Here is some information you can find helpful in debugging.
How can you export a realm without stopping keycloak?
Looks like it is not possible.
SImple and straightforward explanation, plus with docker :)