
Learn to install Java on 64-bit Windows machines in this step-by-step guide.
1. Navigate to the Oracle Java Download Page
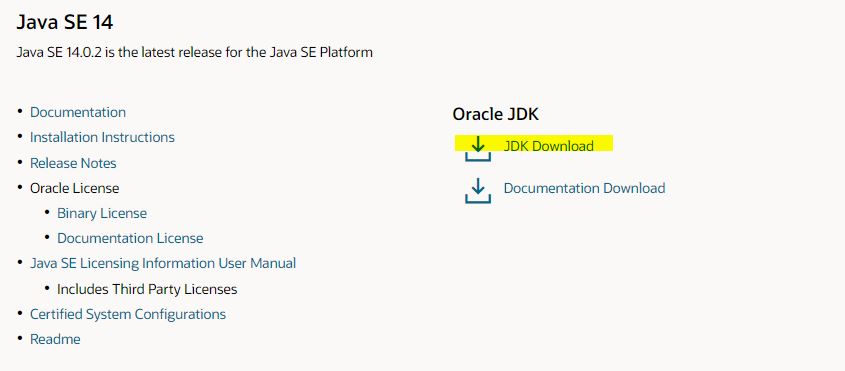
Navigate to the Java download page for the latest Java release.
Click on the link “JDK Download”.
2. Download the zip or Exe Package
Here you have two choices:
2.1. Windows x64 Installer
An .exe file which installs Java in your 64-bit windows machine and makes all necessary environment entries.
For a normal user, it is the best approach.
2.2. Windows x64 Compressed Archive
A .zip file distribution which you can copy to any location on the computer. In this case, you need to update all the required environment variables (e.g. PATH, JAVA_HOME, etc.) yourself.
It is best suited for Java developers who want to keep multiple versions of Java running on their computers.
After clicking any of the download links, a popup will appear to accept Oracle Technology Network License Agreement for Oracle Java SE in order to download this software. Click on the checkbox and then proceed to download it.
Login to the oracle website if prompted.
3. Installation with .exe File
If we are installing the Java software with the exe file downloaded in the previous section, follow the given steps.
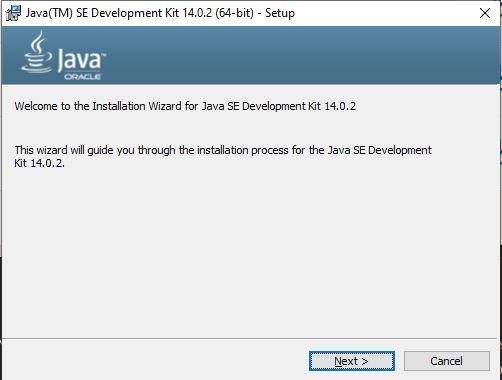
Step 1. Double-click on exe file to initiate the installation process
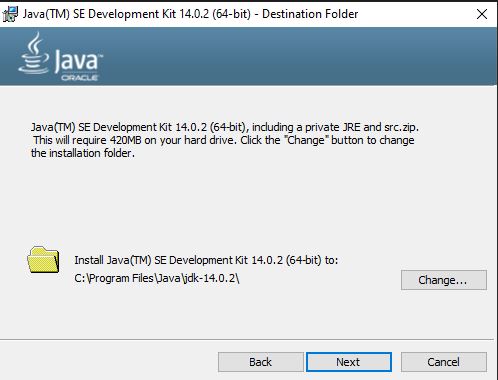
Step 2. Select Java installation location
Until you have a reason to change the location, let it be the default location.
Step 3. Begin Java Installation
Click on Next button and it will install Java in your 64-bit computer. After the process complete in a few minutes, the installation wizard will end with a success message.

4. Installation with .zip File
This process is more suited for the Java developers community. Using this process, you can have multiple versions of Java on your computer. So based on the project requirements, you can choose a different version of any of the projects.
Step 1. Extract the zip archive in desired location
I have unzipped the jdk-14.0.2_windows-x64_bin.zip file in this location: E:\devsetup\jdk-14.

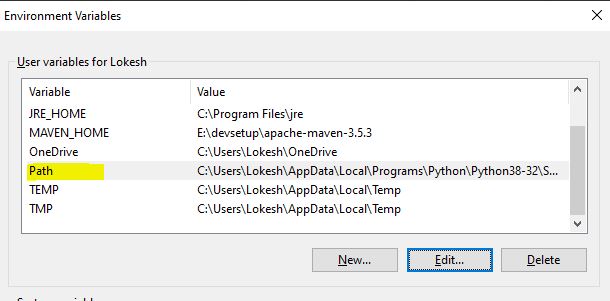
Step 2. Add/Update the environment properties
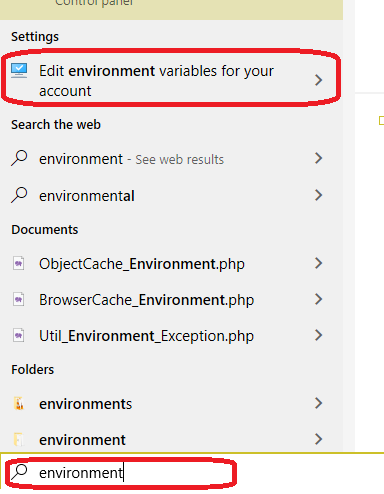
To find the environment properties window, look for it in the control panel. Or in Windows 10, directly search it in the search box in the taskbar.
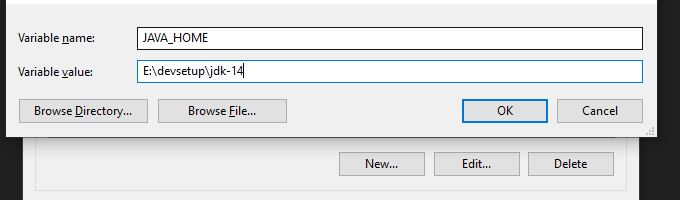
Add the JAVA_HOME variable and specify the folder path as value, where you unzipped the downloaded Java package.
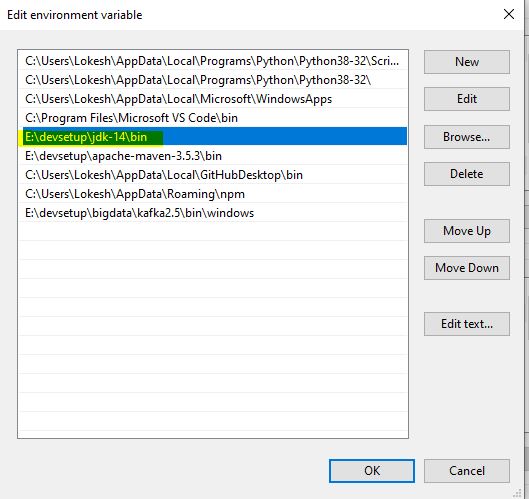
Now update the PATH variable. Add a new path in the list which is the bin folder inside the JDK folder.
After both variables are updated, we can validate the Java installation.
5. Verify Java Installation
Open a new command prompt to verify that Java has been installed on your computer. Type the below command which will print the version of Java installed on your computer.
> java -versionThe command output.
java version "14" 2020-03-17
Java(TM) SE Runtime Environment (build 14+36-1461)
Java HotSpot(TM) 64-Bit Server VM (build 14+36-1461, mixed mode, sharing)
If you get any error in running this command, verify all the steps listed above.
Happy Learning !!