This article will give us a basic understanding of JHipster – the most popular code generation platform for Spring Boot developers, according to GitHub. We will learn how to build and deploy a simple full-stack web application by using JHipster. We will also learn the main features of JHipster and why we should use it.
1. What is JHipster?
JHipster is an open-source development tool for rapidly generating, developing, and deploying full-stack web applications and microservice architectures. It creates a production-ready application by answering predefined questions about the stack to be used and the type of application to be built. As a result of the generation process, there will be files for both the backend and frontend of the application.
Consequently, Java (Spring Boot) is used on the server side (backend), and JavaScript (Angular, Vue, React) is used on the client side (frontend). Moreover, the generated application will be equipped with the latest industry-leading features and technologies.
In addition, this high-level code generator offers features for monitoring, testing, security and database integration. The resulting application technologies will work precisely with each other, so we do not have to worry about incompatibilities between different versions. Moreover, the generated code is well-structured and commented on from the start.
JHipster integrates many industry-leading technologies. The following is a list of the main/most used ones with simple explanations:
Backed technologies:
- Spring Boot for application configuration.
- Maven or Gradle configuration for building, testing and running the application.
- Spring security for protecting data.
Frontend technologies:
- Angular, React, Vue or Twitter Bootstrap for building design components.
Microservices Architecture:
- Spring Cloud Gateway for HTTP routing.
- Netflix Eureka for Service discovery.
Deployment Support:
- AWS, Heroku, Kubernetes, Azure, Docker for cloud support.
The full list of technologies that Jhispter implements can be found on the official website.
2. Installating JHipster
JHipster provides 4 options for installation:
- NPM installation is the most common way of working with JHipster.
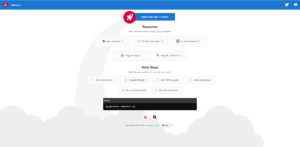
- JHipster Online is a way to generate an application without installing JHipster.
- Yarn installation is an alternative to NPM installation, but using Yarn instead.
- Using a Docker container.
Let us quickly go through the steps using the NPM installation.
2.1. Prerequisites
We must install Java and Nodejs prior to use JHipster:
2.2. Installing JHipster
Open the CMD window and run the following command:
npm install -g generator-jhipsterAs the result, this command downloads the necessary dependencies and installs JHipster. Note that it can take some time to download all dependencies into the local system.
3. Creating a New Project
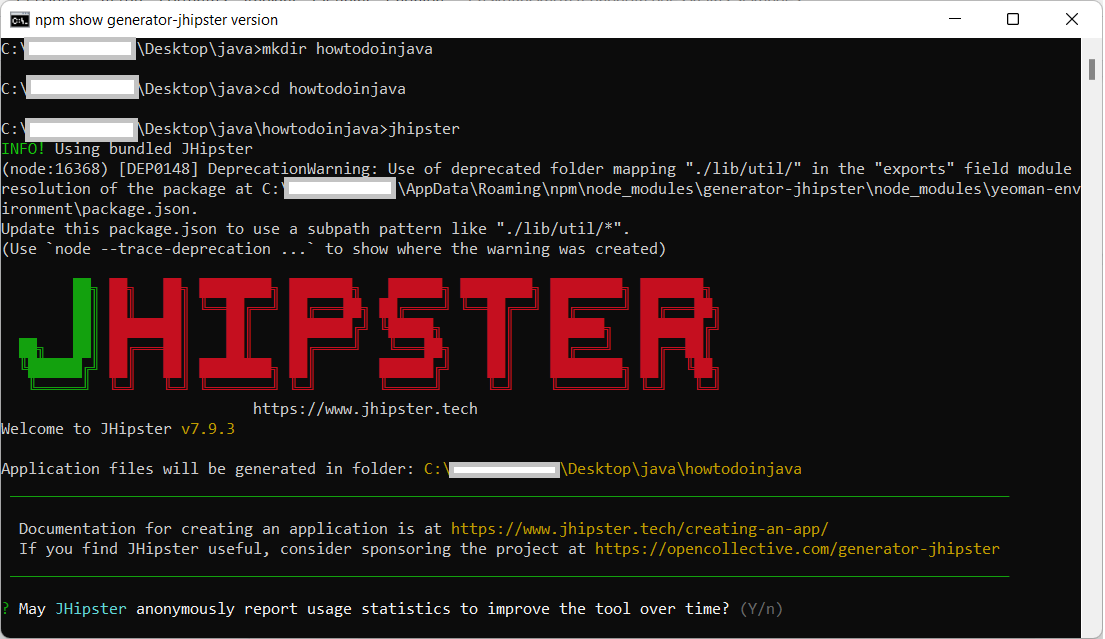
This is a simple guide on how to create your first JHipster web application. We will create a new project directory and run the jhipster command into it.
$ mkdir howtodoinjava
$ cd howtodoinjava
$ jhipster
This command will start the project generation process:
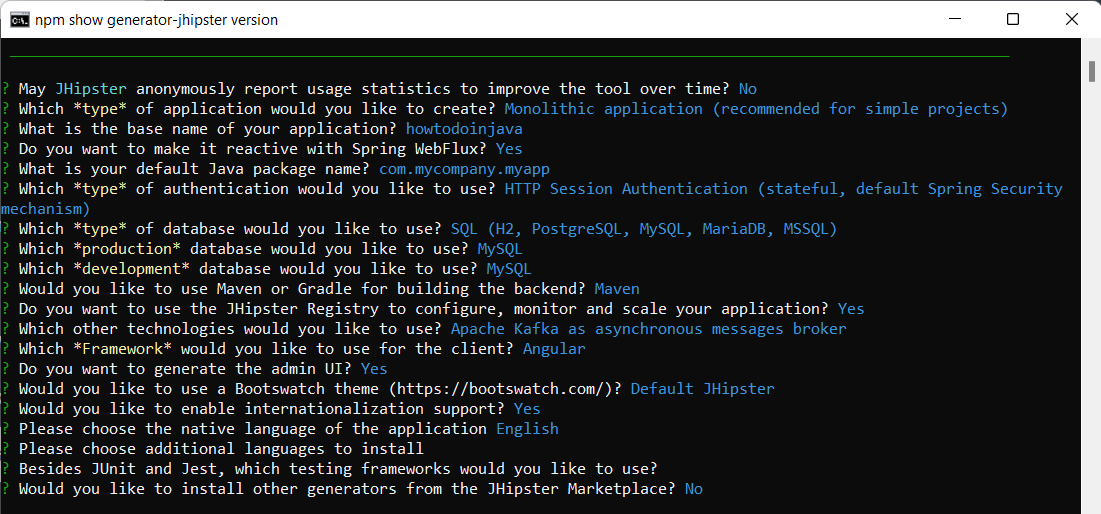
We need to answer the questions posed by the generator to create an application tailored to our needs:
Finally, we can launch the application using Maven or Gradle commands. Then type into the browser: localhost:8080 and we will see the first generated app! Finally, we can explore the website, check the authentication/registration process, and examine monitoring data.

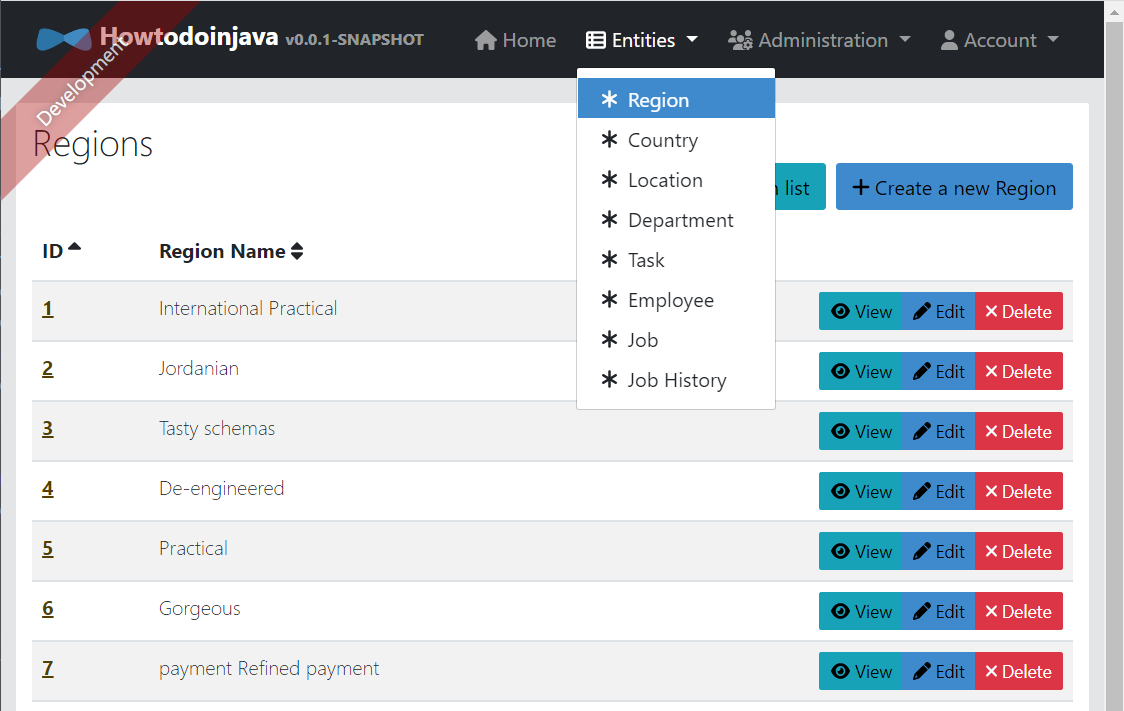
4. Generating New Entities
Entities are the actors in the project. For each entity, we will require a database table, JPA entity, JPA repository, HTML view, angular router and unit tests. Jhipster makes creating all of these very easy.
One of the easiest ways to create entities is to use the online JDL Studio, which has a graphical interface. We can download the .jdl file, then put it in the project /src repository and run the following command:
$ jhipster import-jdl entities.jdlAfter that, you will see the generated entities in the project:
5. Working with the Backend
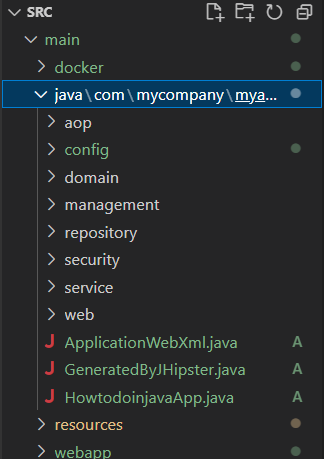
Open the backend files in our favorite IDE ( such as Intellij) and we will find all the Java files in the directory “src/main/java”. We can see that Java files are well-commented, and the project has a proper folder structure. We can start working on the backend logic from here.
6. Working with the Front End
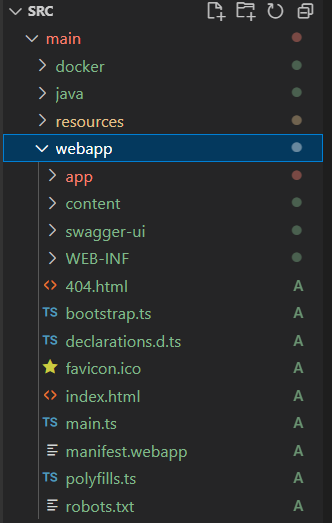
Similar to backend files, we can open the directory “src/main/webapp” into an IDE that has the UI code. These files depend on which frontend framework (Angular, Vue, React) we chose in the initial project creation phase, but the structure remains similar:
7. Project Deployment
The easiest way to deploy a project is to create a .war file and deploy it to an application server. We can use the following command to package the application. Then place the generated war file into the application server to run it.
$ mvn packageAlternatively, we can dockerize the application and run using the docker.
8. Conclusion
In this article, we learned what a powerful tool JHypster is, and we created a simple full-stack application. In addition, we analyzed the project structure and deployed the application on the Tomcat web server.
Happy Learning !!