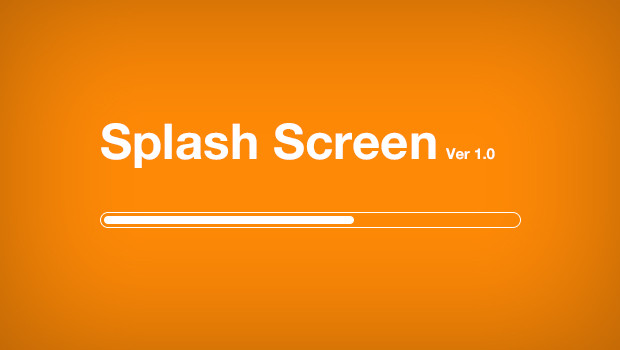
Splash window is introductory screen which is shown to the user, by the time application is loading on background. Splash screens cover the entire screen or simply a rectangle near the center of the screen. Usually, a progress bar is also shown along with splash window which indicates how much loading has been completed and/or how much is remaining.
In this tutorial, I am giving an example of such splash screen. It also demonstrate the running progress bar. Once progress bar reaches to end/complete, splash window close down and a new window appears which will be main application window.
Sections in this post:

1) Splash window
2) Main application window
3) Application demo launcher
4) Sourcecode download
1) Splash window code
Below is the sourcecode for splash window. Code is self explanatory and should be easy to understand. If you still feel problem, drop a comment.
package com.howtodoinjava.splash.demo;
import org.eclipse.swt.SWT;
import org.eclipse.swt.graphics.Image;
import org.eclipse.swt.graphics.Rectangle;
import org.eclipse.swt.layout.FormAttachment;
import org.eclipse.swt.layout.FormData;
import org.eclipse.swt.layout.FormLayout;
import org.eclipse.swt.widgets.Display;
import org.eclipse.swt.widgets.Label;
import org.eclipse.swt.widgets.ProgressBar;
import org.eclipse.swt.widgets.Shell;
public class SplashWindow {
private int splashPos = 0;
private final int SPLASH_MAX = 100;
public SplashWindow(Display display)
{
final Image image = new Image(display,
System.getProperty("user.dir")
+ CommonConstants.IMAGES_PATH
+ CommonConstants.FILE_NAME_SEPERATOR + "Splash.jpg");
final Shell splash = new Shell(SWT.ON_TOP);
final ProgressBar bar = new ProgressBar(splash, SWT.NONE);
bar.setMaximum(SPLASH_MAX);
Label label = new Label(splash, SWT.NONE);
label.setImage(image);
FormLayout layout = new FormLayout();
splash.setLayout(layout);
FormData labelData = new FormData();
labelData.right = new FormAttachment(100, 0);
labelData.bottom = new FormAttachment(100, 0);
label.setLayoutData(labelData);
FormData progressData = new FormData();
progressData.left = new FormAttachment(0, -5);
progressData.right = new FormAttachment(100, 0);
progressData.bottom = new FormAttachment(100, 0);
bar.setLayoutData(progressData);
splash.pack();
Rectangle splashRect = splash.getBounds();
Rectangle displayRect = display.getBounds();
int x = (displayRect.width - splashRect.width) / 2;
int y = (displayRect.height - splashRect.height) / 2;
splash.setLocation(x, y);
splash.open();
display.asyncExec(new Runnable()
{
public void run()
{
for(splashPos = 0; splashPos < SPLASH_MAX; splashPos++)
{
try {
Thread.sleep(100);
}
catch(InterruptedException e) {
e.printStackTrace();
}
bar.setSelection(splashPos);
}
ApplicationLauncher.reportWindow.initWindow();
splash.close();
image.dispose();
}
});
while(splashPos != SPLASH_MAX)
{
if(!display.readAndDispatch())
{
display.sleep();
}
}
}
}
[/java]
<h3><strong>2) Main application window code</strong></h3>
This is actually not required in demo. I used it to show the demonstration of another window opening when splash window closes down.
[java]
package com.howtodoinjava.splash.demo;
import org.eclipse.swt.SWT;
import org.eclipse.swt.graphics.Rectangle;
import org.eclipse.swt.widgets.Display;
import org.eclipse.swt.widgets.Shell;
public class ReportWindow
{
private Display display;
private Shell shell;
public ReportWindow(Display display) {
this.display = display;
}
public void initWindow() {
shell = new Shell(display, SWT.CLOSE | SWT.MIN);
shell.setText("Title");
shell.open();
shell.pack();
Rectangle splashRect = shell.getBounds();
Rectangle displayRect = display.getBounds();
int x = (displayRect.width - splashRect.width) / 2;
int y = (displayRect.height - splashRect.height) / 2;
shell.setLocation(x, y);
}
public void destroyWindow() {
shell.close();
shell.dispose();
}
}
3) Application demo launcher code
This code first launches splash window. Splash window run the progress bar and then at last open the application window.
package com.howtodoinjava.splash.demo;

import org.eclipse.swt.widgets.Display;

public class ApplicationLauncher
{
	//Creating static so that can access from splash window code
	//In production code, use event handling
	public static ReportWindow reportWindow;

    @SuppressWarnings("unused")
	public ApplicationLauncher()
    {
    	Display display = new Display();
    	reportWindow = new ReportWindow(display);
        SplashWindow splashWindow = new SplashWindow(display);
        while((Display.getCurrent().getShells().length != 0)
                 && !Display.getCurrent().getShells()[0].isDisposed())
        {
             if(!display.readAndDispatch())
             {
                 display.sleep();
             }
        }
    }

	public static void main(String[] args)
	{
		new ApplicationLauncher();
	}
}
For reference, These are constants used in demo program.
package com.howtodoinjava.splash.demo;

public class CommonConstants {
	public static final String RESOURCE_PATH = "/resources";
    public static final String IMAGES_PATH = "/images";
    public static final String FILE_NAME_SEPERATOR = "/";
}
4) Sourcecode download
To download the sourcecode of above splash screen demo, follow the below link.
Let me know if any question.
Happy Learning !!
Comments