Secure Socket Layer (SSL) is a secure transfer protocol used for communication on the Internet using cryptographic methods. The main purpose of the SSL protocol is to guarantee that no one can tamper with the communication between a browser and the server where the web application is deployed. Another purpose of secure communication is the ability to authenticate the server and its owner based on the SSL information – so that a user can be certain that the server that it’s accessing is the one that it’s saying it is. In a common SSL scenario, when the user accesses the web server for the first time, the server sends its SSL certificate, or public key, to the client. The SSL certificate contains the information about the server, its owner, company, and its validity period. A user can reject a certificate if it does not trust its authenticity, effectively terminating the connection. If the user accepts the certificate, the certificate itself is stored in the browser, and is used to initiate a secure connection with the issuing server.
SSL protocol communication over HTTP protocol is referred to as HTTPS (secure HTTP). The web sites that are using SSL encrypted connections display https as the protocol name in the browser’s address bar, for example . Organizations called Certificate Authorities (CA) can authenticate the details of the SSL certificate, so if the user trusts the CA, they can be sure that the secure web site is certified, and its details are correct. There is a number of CAs that can issue a certified SSL certificate. Modern browsers automatically recognize the largest and best-known CAs, and allow connections to the sites providing SSL certificates certified by these organizations automatically. If the SSL certificate is not certified by a CA, or is certified by the CA but not recognized by the user’s browser, the user will be presented with a warning screen, where he or she can decide whether to trust the certificate.
Configuring tomcat with SSL is three step process.

1) Generating Keystore
2) Updating Connector in server.xml
3) Updating application's web.xml with secured URLs
1) Generating Keystore
SSL certificates are JKS files. JKS format stands for Java KeyStore, which is a Java-specific keystore format. JKS keystore can be created and manipulated using the keytool utility application, distributed as part of Java SDK from version 1.4. Keytool, which we will use to create a self-signed SSL certificate, is located in the JAVA_HOME/bin/ directory.
//GOTO JAVA HOME
c:\ > cd %JAVA_HOME%/bin

//TYPE GENKEY COMMAND
C:\BAML\DFCCUI\installs\jdk1.6\bin>keytool -genkey -alias tomcat -keyalg RSA

Enter keystore password:
Re-enter new password:
What is your first and last name?
  [Unknown]:  lokesh
What is the name of your organizational unit?
  [Unknown]:  boa
What is the name of your organization?
  [Unknown]:  boa
What is the name of your City or Locality?
  [Unknown]:  delhi
What is the name of your State or Province?
  [Unknown]:  delhi
What is the two-letter country code for this unit?
  [Unknown]:  91
Is CN=lokesh, OU=boa, O=boa, L=delhi, ST=delhi, C=91 correct?
  [no]:  yes

Enter key password for <tomcat>
        (RETURN if same as keystore password):
Re-enter new password:

C:\installs\jdk1.6\bin>
It will create a .keystore file on your user home directory. On windows 7, its under C:\Users\lokesh.
2) Updating Connector in server.xml
Open your Tomcat installation directory and open the conf folder. Inside this folder, you will find the server.xml file. Open it and find the following declaration:
<!--
<Connector port="8443" protocol="HTTP/1.1" SSLEnabled="true"
		   maxThreads="150" scheme="https" secure="true"
		   clientAuth="false" sslProtocol="TLS" />
-->
And change it with this information. Do not forget to use your password and keystore path.
<Connector SSLEnabled="true" acceptCount="100" clientAuth="false"
    disableUploadTimeout="true" enableLookups="false" maxThreads="25"
    port="8443" keystoreFile="C:/Users/lokesh/.keystore" keystorePass="password"
    protocol="org.apache.coyote.http11.Http11NioProtocol" scheme="https"
    secure="true" sslProtocol="TLS" />
You are done. Now see the application changes.
3) Updating application’s web.xml with secured URLs
Now update your application’s web.xml file with following.
<security-constraint>
	<web-resource-collection>
		<web-resource-name>application-one</web-resource-name>
		<url-pattern>/*</url-pattern>
	</web-resource-collection>
	<user-data-constraint>
		<transport-guarantee>NONE</transport-guarantee>
	</user-data-constraint>
</security-constraint>
The url pattern is set to /* so any page/resource from your application is secure (it can be only accessed with https). The transport-guarantee tag is set to CONFIDENTIAL to make sure your app will work on SSL.
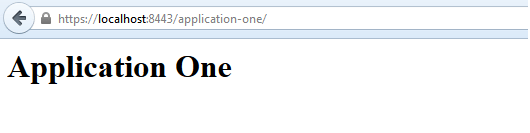
Now try to access the application using https://localhost:8443/application-one/. This will show the certificate information in browser.
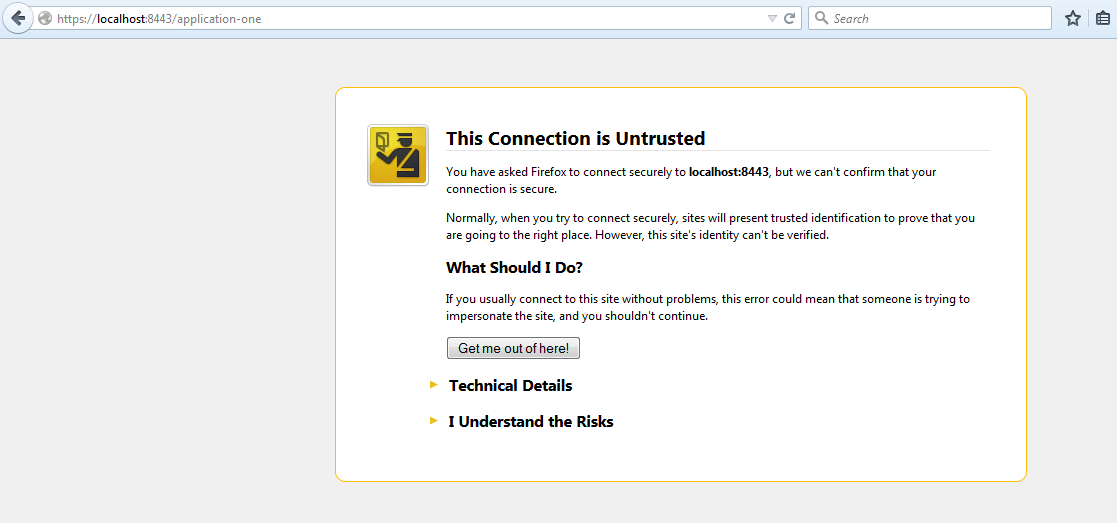
It will display the page only after you accept the certificate.
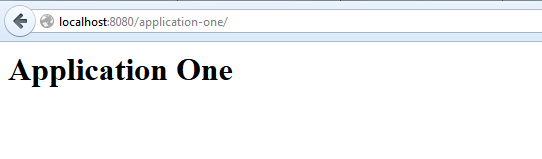
If you do not put above “security-constraint” in web.xml then you will be able to access your application directly using http://localhost:8080/application-one/.
That’s all for this simple yet important concept regarding implementing SSL support in tomcat server.
Happy Learning !!
Comments