Learn about Amazon S3 (Simple Storage Service), creating a bucket in AWS S3 and then hosting a static website or static contents in the storage area.
1. What is AWS S3
The Amazon S3 is an easy-to-use object store and one of the oldest services on AWS platform. Amazon S3 is an acronym for Amazon Simple Storage Service. It’s a typical web service that enables us to store and retrieve data via an API reachable over HTTPS. The service offers unlimited storage space and stores your data in a highly available, durable, and secure way.
In S3 we can store any kind of data, such as images, documents, and binaries, as long as the size of a single object doesn’t exceed 5 TB.
1.1. Key Terminologies
- Bucket – A bucket is a container for objects stored in Amazon S3. Every S3 object is contained in a bucket. Buckets form the top-level namespace for Amazon S3, and
bucketnames are global. This essentially means that Bucket names should be unique across all AWS accounts. - Objects – Objects are the entities or files stored in S3 buckets. An object can be any kind of data in any format. Objects can range in size from 0 bytes up to 5TB, and a single bucket can store an unlimited number of objects. This means that a single bucket can store a virtually unlimited amount of data.
- Keys – Every object stored in an S3 bucket is identified by a unique identifier called a key.
- Object URL – As S3 is a cloud system, each object is accessible over internet with a unique URL. Generally, the URL structure is like this:
https://<region>.s3.amazonaws.com/<bucket>
1.2. S3 Storage Classes
Amazon S3 has below storage class which customers can choose –
- Standard is designed for general-purpose data needing high performance and low latency.
- Standard-IA is for less frequently accessed data.
- RRS offers lower redundancy at lower cost for easily reproduced data.
2. Static Website Hosting with AWS S3
2.1. Create a New AWS Account
Before starting this exercise we need to register ourselves with the AWS free tier account. AWS provides this type of access for 1 year to do the practice on different services. It is very straight forward and to do that you need to follow this link https://aws.amazon.com/ and need to click on “Create an AWS Account” button in top right corner of the home page itself.
Give required registration details. It will ask for some credit card, feel free to provide your own, AWS will not bill unless you have tried the services that do not fall under the free tier.

2.2. Access AWS Console
Once you have registered and received the credentials, you need to login to the AWS console, and after login, the console will look like
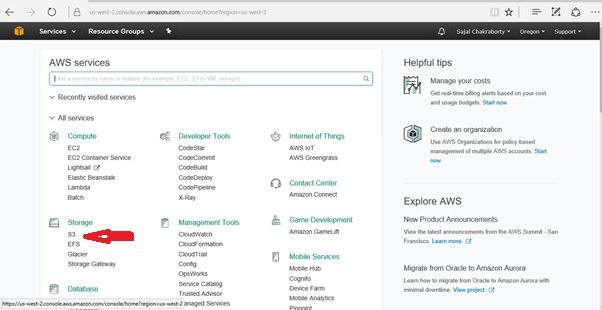
2.3. Open AWS S3 Console
Go to S3 console by clicking on the respective link from the storage section. The S3 console will look like the one below. Please note that AWS frequently updates its portal, so the actual view may be a little bit different from the given image. But the overall functionalities should be the same.
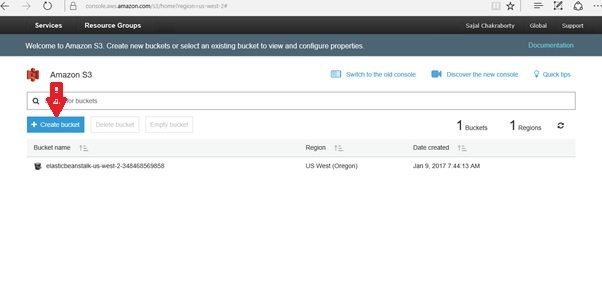
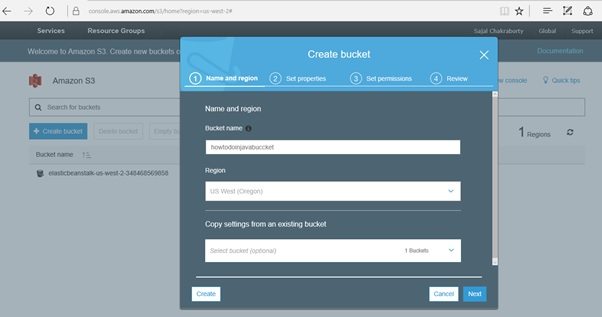
2.4. Create a New Bucket on AWS S3
Now click on the create a bucket in the S3 console, and enter a bucket name. Please note that the bucket name is unique in the overall AWS platform, so you might face some error message like bucket already exists if you enter a duplicate bucket name that is already created in AWS by someone before. So, choose the bucket name efficiently to avoid this. You can follow the official AWS S3 bucket policy for more details.
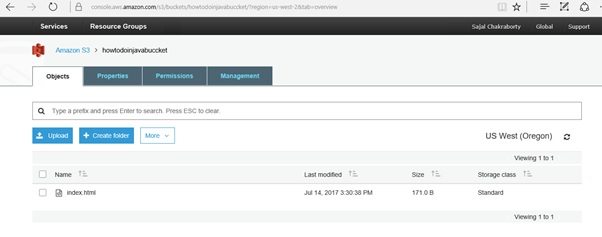
Once you are able to create the bucket, it will come in the middle of the screen like below.

Now click on the bucket name, and you will go to the bucket details page.

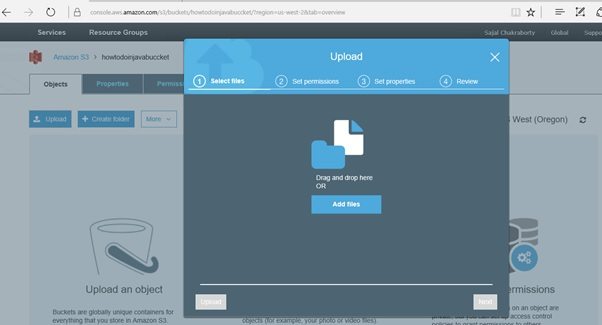
2.5. Upload Static Files to S3 Bucket
For demo purpose, we will create a sample HTML file and will upload in S3 and will access it from the internet. This is the upload screen once we click on the Upload button.

I have created one html file index.html and uploaded in the S3. This only contains some static text. The content of the page is very simple as below. Feel free to use any static content such as CSS files, images or browser scripts.
<!DOCTYPE html>
<html>
<head>
<meta charset="ISO-8859-1">
<title>Insert title here</title>
</head>
<body>
    <h2>Hi, Welcome to AWS S3 world!!!</h2>
</body>
</html>
After uploading the screen will look like this.
2.6. Test the Uploaded File
Now we will try to access the HTML file from the internet. To do that first we need to know the address of this page. We need to go to the details of the object by clicking on the link of the object. The details screen will look like the below.
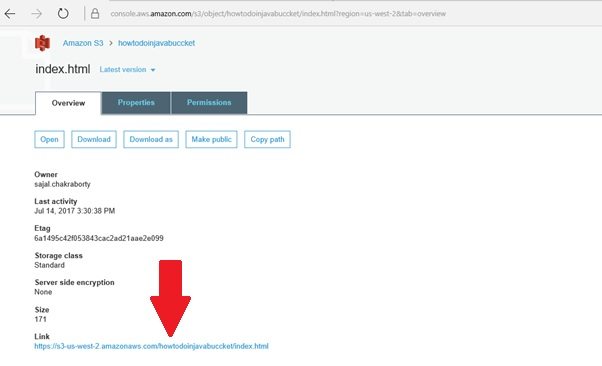
Now click on the link in a separate tab, and you can expect one 403 forbidden error. As in AWS, everything is private and secure by default. Now we need to set permission to enable public access of this file to the outside world.
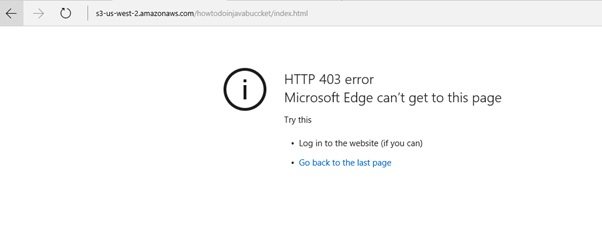
2.7. Enable Public Access to Objects
Now in order to make this file accessible to the outside world, we need to make this file public.
It is also very simple, just click on the Make public button at the top to make this file public, so that everyone can access this from the outside world. Once we have made this link public, let’s try to access it from a separate tab to see if it is accessible.
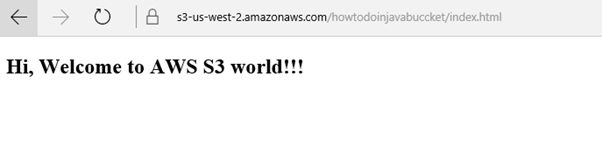
Congratulations !!! You have successfully set up our first static website in S3 by just clicking on a couple of buttons.
Please feel free to give your comment if you face any difficulty here, we will be happy to look into the problem.
Happy Learning !!