
Running the dockerized instances of databases such as MySQL or Postgres saves us from the hassles of installing the databases on local machines, thus keeping the OS lean and clean. MySQL and Postgres are among the most popular database distributions. In this tutorial, we will learn to install the databases in docker containers and connect to them from other applications running on your local machine.
As a prerequisite, we assume that Docker is installed on your machine and running. If not, please refer to https://docs.docker.com/install/ for Docker installation and refer to https://docs.docker.com/compose/install/ for Docker Compose installation.
1. Dockerized MySQL with Adminer
Adminer (formerly phpMinAdmin) is a full-featured database management tool written in PHP. It provides an excellent admin UI interface for several databases, such as MySQL, MariaDB, PostgreSQL, SQLite, MS SQL, Oracle, MongoDB etc.
1.1. Install the Services
The following docker-compose.yaml file will install the MySQL database and Adminer UI in a docker container.
Note that the compose file:
- exposes the MySQL database to a 3306 port number. We can access the database at URL localhost:3306 or 127.0.0.1/3306 URLs. If we want to connect to this DB instance from a remote machine, then we must use the machine IP address in the URL.
- creates a volume mysql_db_data_container used for persisting the data stored between container restarts. Note that docker containers are stateless, so the data will not be persisted if we are not using the volume to store the MySQL data.
- installs and exposes the Adminer UI to URL localhost:8080.
Make sure that port numbers 3306 and 8080 are not already in use when we run the script.
version: '3.7'
services:
  mysql_db_container:
    image: mysql:latest
    command: --default-authentication-plugin=mysql_native_password
    environment:
      MYSQL_ROOT_PASSWORD: password
    ports:
      - 3306:3306
    volumes:
      - mysql_db_data_container:/var/lib/mysql
  adminer_container:
    image: adminer:latest
    environment:
      ADMINER_DEFAULT_SERVER: mysql_db_container
    ports:
      - 8080:8080

volumes:
  mysql_db_data_container:
To run the script, run the ‘docker-compose up‘ command in the same folder where the file is stored. The -d option runs the command in detach mode (in the background).
docker-compose up -d1.2. Verify the Services
To verify that both services are installed and running properly, run the ‘docker ps‘ command:
C:\Users\lokesh>docker ps

CONTAINER ID   IMAGE            COMMAND                  CREATED      STATUS          PORTS                               NAMES
22e7865b1241   adminer:latest   "entrypoint.sh php -…"   3 days ago   Up 26 minutes   0.0.0.0:8080->8080/tcp              mysql-adminer-adminer_container-1
a3614162267a   mysql:latest     "docker-entrypoint.s…"   3 days ago   Up 26 minutes   0.0.0.0:3306->3306/tcp, 33060/tcp   mysql-adminer-mysql_db_container-1
We can connect to Adminer at http://localhost:8080/ .
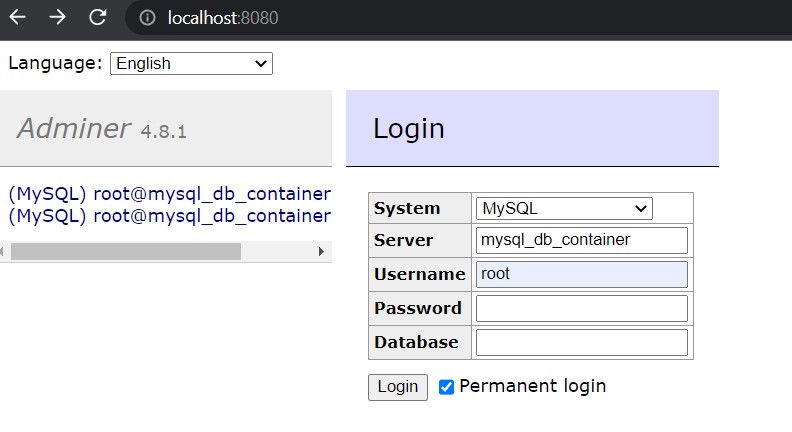
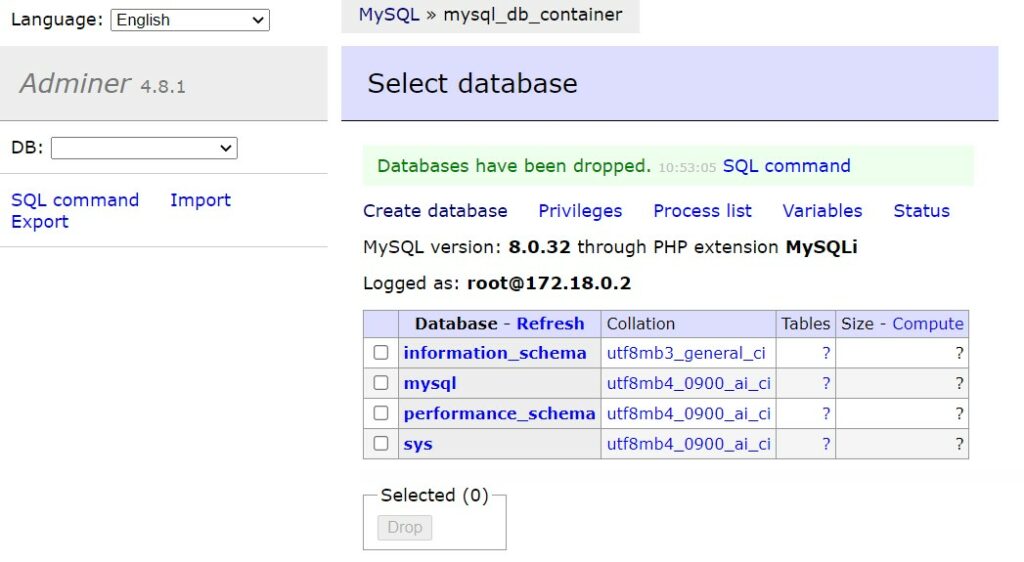
Fill in the correct username and password, and log in to the database to start working on it.
2. Dockerized PostgreSQL with Adminer
Most configurations will remain the same as in the above example. Only we will replace the MySQL service with the Postgres service.
version: '3.7'
services:
  postgres_db_container:
    image: postgres:latest
    environment:
      POSTGRES_USER: root
      POSTGRES_PASSWORD: password
      POSTGRES_DB: inventory
    ports:
      - 5432:5432
    volumes:
      - postgres_db_data_container:/var/lib/postgresql/data
  adminer_container:
    image: adminer:latest
    environment:
      ADMINER_DEFAULT_SERVER: mysql_db_container
    ports:
      - 8080:8080

volumes:
  postgres_db_data_container:
To run the script, run the ‘docker-compose up‘ command in the same folder where the file is stored.
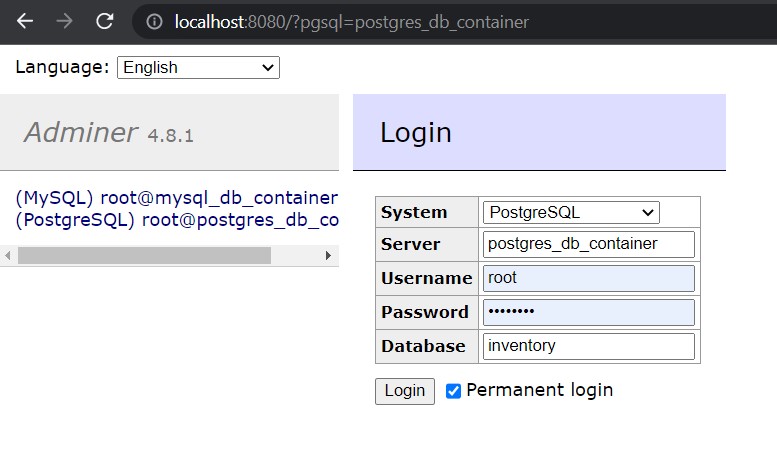
docker-compose up -dNow we can connect to Adminer instance in localhost:8080 URL and then log into postgres database using the specified credentials.
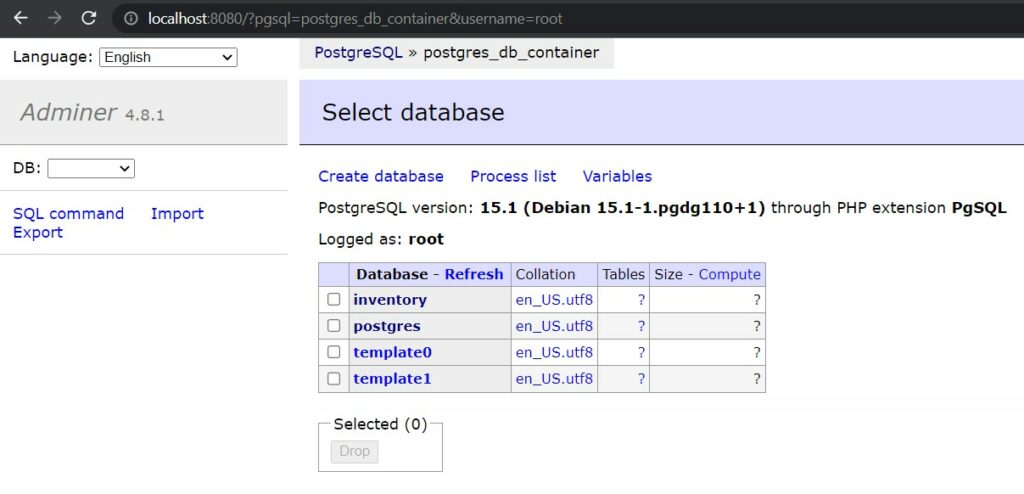
After filling in the credentials, we can see the database has been created and we can work on it.
3. Connecting from Spring Boot Application
If we want to connect with this database from a Spring boot application, the most straightforward way is to configure the DataSource properties.
In the following properties file, we can override the datasource URL, username and password with supplied properties or environment variables i.e. DB_HOST, DB_PORT, DB_USER, DB_PASSWORD. If no properties are supplied in runtime, the default values will be selected, and a database connection will be established.
spring.datasource.url=jdbc:mysql://${DB_HOST:localhost}:${DB_PORT:3306}/inventory
spring.datasource.username=${DB_USER:root}
spring.datasource.password=${DB_PASSWORD:password}
spring.datasource.driverClassName=com.mysql.cj.jdbc.Driver
4. Conclusion
In this Docker tutorial, we learned to install the database services such as MySQL and PostgreSQL and connect to these database installations from a local machine. We learned to connect to the database with Adminer UI, and with a Spring boot application as well.
Happy Learning !!