In this tutorial, learn to configure and run a spring boot application into a docker container. We will learn the whole process step by step with proper code examples.
1. Prerequisites
We presume that you are aware of the docker and it is installed on your local machine. If you are not aware of docker then, for now, you can think of it as a container that provides the runtime environment including all the tools and dependencies for your project/application. All these things are packaged into a single unit so that we can run the application without much worrying about dependencies and compatibilities.
To download the docker, you can refer to its official site. It provides executables for all the major platforms such as Windows, macOS, and Linux.
2. Verify the Docker Installation
Before proceeding further, we recommend checking if the docker is installed properly or not. We can use the following command in cmd/terminal that shows its client and server versions. See the below screenshot as well.
$ docker version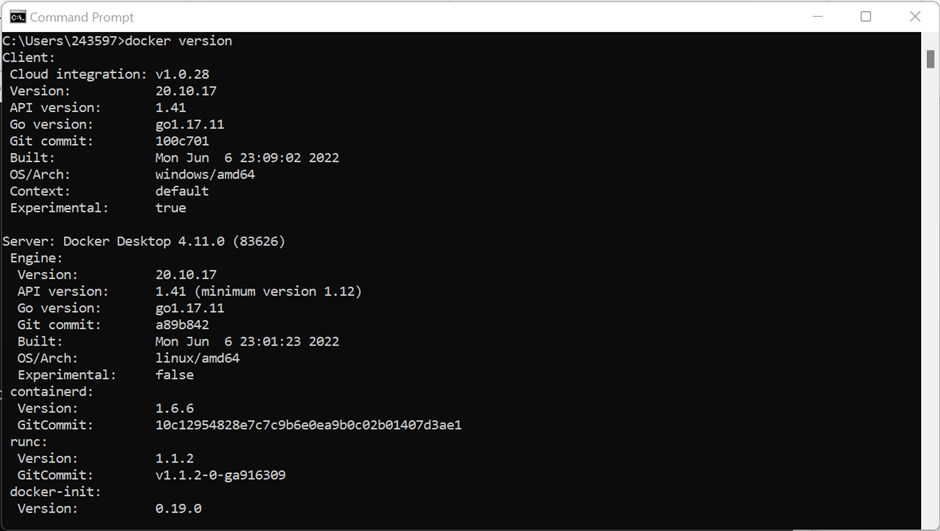
All good! Docker is installed.
3. Steps to Dockerize the Spring Boot Application
Now, let’s start to dockerize a spring boot application step by step. The whole process includes the following Steps:
- Create a Spring Boot Application
- Create an Executable JAR file
- Create a Dokerfile
- Create Docker Image
- Run the Docker Image
Step 1. Create a Spring Boot application
To create a spring boot application, there are several ways but we recommend using the spring’s official online tool – https://start.spring.io/.
Here, we are not going to explain how to create a spring boot application as we already have a detailed article on it. So, we recommend you to refer to our detailed article here on: creating spring boot hello application.
For this article, we created a maven-based spring boot application named springDocker that contains all the files including the SpringDockerApplication.java class. In this class, we added one more method named index(). We also marked the class with @RestController annotation to get the API response.
import org.springframework.boot.SpringApplication;
import org.springframework.boot.autoconfigure.SpringBootApplication;
import org.springframework.web.bind.annotation.GetMapping;
import org.springframework.web.bind.annotation.RestController;

@RestController
@SpringBootApplication
public class SpringDockerApplication {
	public static void main(String[] args) {
		SpringApplication.run(SpringDockerApplication.class, args);
	}
	@GetMapping("/home")
	public String index() {
		return "Spring Application is Running...";
	}
}
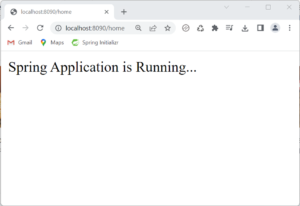
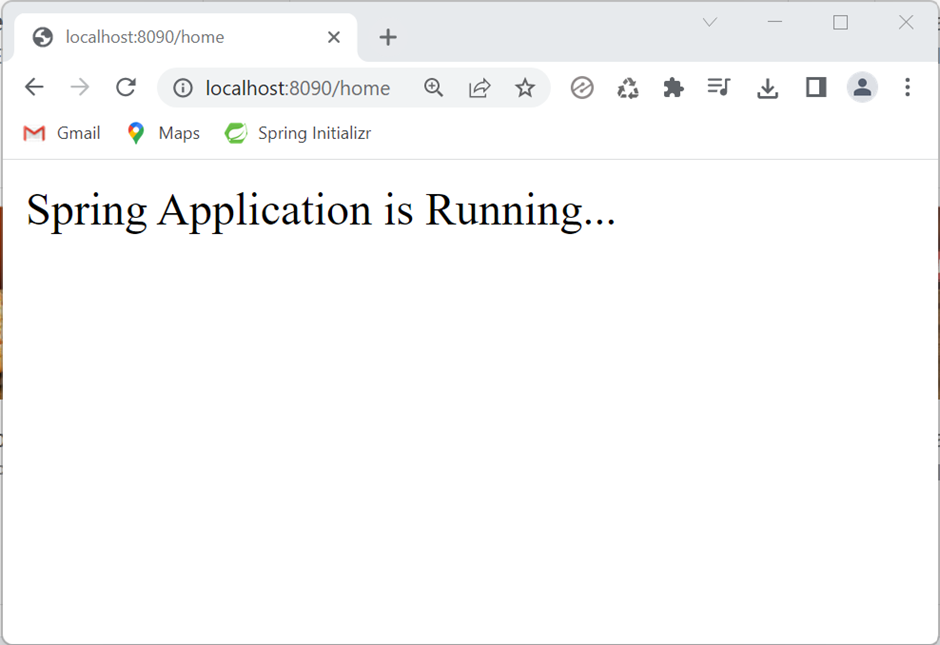
By, default the spring boot application runs on port number 8080, and if you request https://localhost:8080/home from the browser then it will show the “Spring Application is Running…” message to the browser.
Step 2. Create Executable JAR
To create a JAR file of a maven-based spring application, we can use a command:
$ mvn clean install This will create a JAR file into the target directory of the project. For more details about creating JAR files, we can refer to our detailed article here: How to create JAR File.
By default, the created JAR file has the same name as the application name but if you want to give it another name then use the <finalName> tag in the pom.xml file like this:
<build>
	<finalName>springDocker</finalName>
	<plugins>
		<plugin>
			<groupId>org.springframework.boot</groupId>
			<artifactId>spring-boot-maven-plugin</artifactId>
		</plugin>
	</plugins>
</build>
Now, move to the next step and create a docker file to the root folder of the application.
Step 3. Create the Docker File
This is the main docker file that contains all the instructions to make the spring boot application dockerize. So, create a dockerfile in the root folder of the application.
Note: Don’t add any extension to dockerfile. Docker recognizes the file by this name only.Add the deployment instructions to the dockerfile. Docker provides built-in instruction commands that we can use to manage the docker image. Some of these are FROM, ADD, ENTRYPOINT, CMD, etc.
FROM openjdk:11
LABEL maintainer ="howtodoinjava"
ADD target/springDocker-0.0.1-SNAPSHOT.jar springDocker-0.0.1-SNAPSHOT.jar
ENTRYPOINT ["java","-jar","springDocker-0.0.1-SNAPSHOT.jar"]- FROM command imports the Java image from the docker library to our container so that our spring boot application can run.
- LABEL command specifies the label for this image and ADD command is used to add the JAR file of our spring boot application to the docker container.
- ENTRYPOINT is used to specify the run command. We can notice that the array of strings combinedly makes a command that we usually use to run the JAR file from the cmd/terminal. This command executes our spring boot application into the docker container.
Make sure all the instructions of the Dockerfile much be in UPPERCASE.
Step 4. Create Docker Image
Now, create a docker image to combine all these files (JAR and Dockerfile) as a single unit. In docker terminology, it is called an image that executes independently in the docker container.
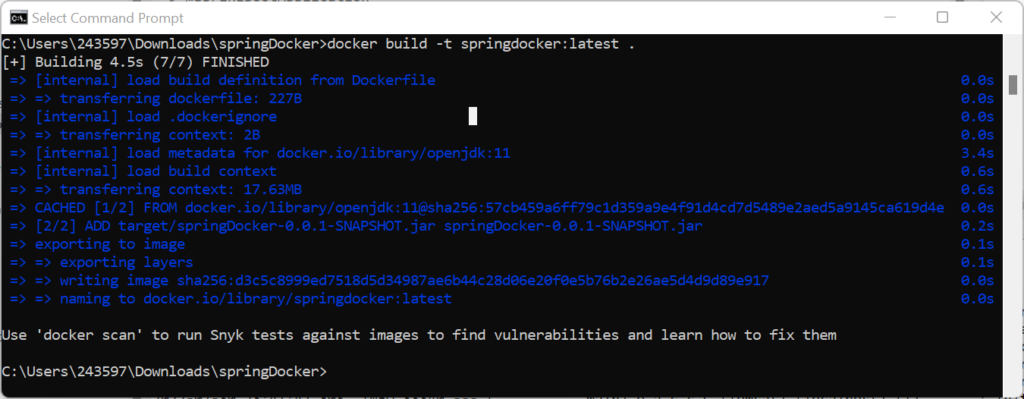
To create an image, docker provides the following command:
$ docker build – t springdocker:latest .This will create an image in the docker container. The -t flag is used to set a tag for the image and the colon (:) is used to set the tag name whereas the dot (.) refers to the current directory.
You can check the created image by using the below command.
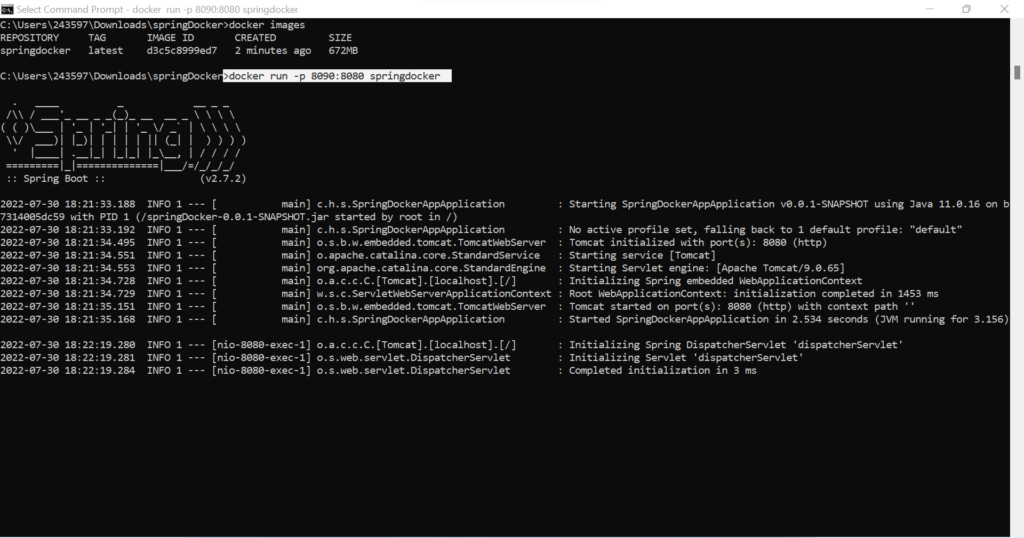
$ docker imagesThis command will show a list of all the images with tags, size, and time.
Step 5. Verify the Docker Image
Now, run the image by using the following command:
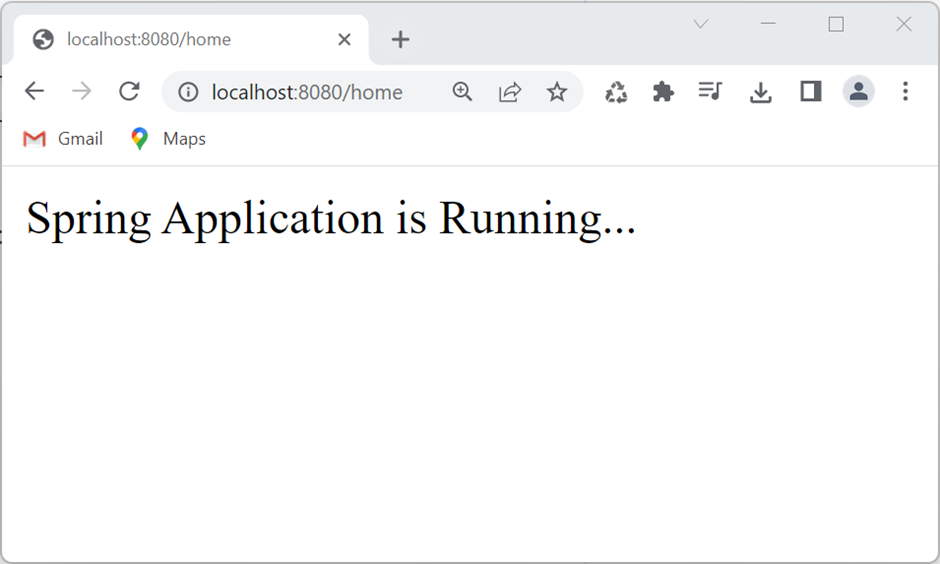
$ docker run -p 8090:8080 springdocker Here, we used the -p flag to specify the port number and we mapped the port 8080 to 8090. Since tomcat by default runs on the 8080 port, so we mapped this request to another port.
The springdocker is the name of the docker image that we just created in the above step.
Test the application by using the http://localhost:8090/home URL in the browser. It should return the same output as it did in the non-dockerized execution.
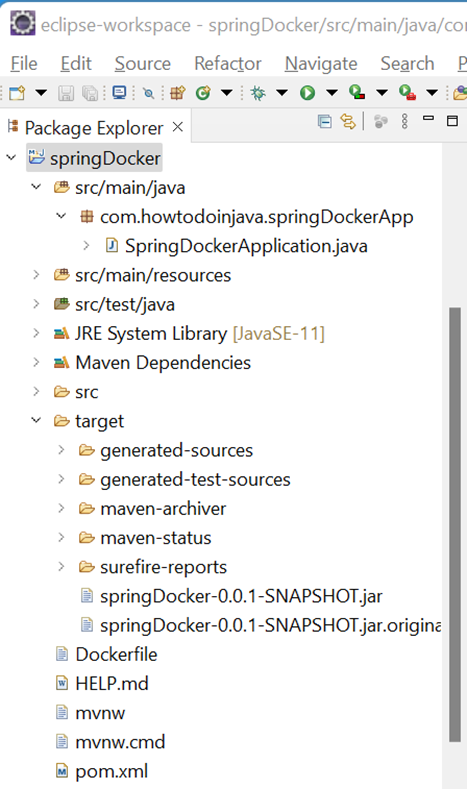
For your reference, we are attaching the project structure of this application. So, you can get the actual idea of placing the files in the right folders.
4. Conclusion
In this docker tutorial, we have successfully created a spring boot application and run it in the docker container. The process is quite easy if you are familiar with the basics of docker.
Happy Learning !!