In this Spring cloud tutorial, learn to use client side load balancing using Netflix Ribbon in spring boot/cloud projects. Learn to build microservice based applications which use ribbon as client side load balancer and eureka as registry service. Learn how we can dynamically add new instances of microservices under the load balancer.
Table of Contents

1. Traditional server side load balancing
2. Client side load balancing
3. Netflix ribbon - Client side load balancer
4. Netflix ribbon example
5. Test the application
6. Summary
1. Traditional server side load balancing
Server side load balancing is involved in monolithic applications where we have limited number of application instances behind the load load balancer. We deploy our war/ear files into multiple server instances which are basically a pool of server having the same application deployed and we put a load balancer in front of it.
Load balancer has a public IP and DNS. The client makes a request using that public IP/DNS. Load balancer decides to which internal application server request will be forwarded to. It mainly use round robin or sticky session algorithm. We call it server side load balancing.
1.1. Problems in microservices architecture
Mostly server side load balancing is a manual effort and we need to add/remove instances manually to the load balancer to work. So ideally we are loosing the today’s on demand scalability to auto-discover and configure when any new instances will be spinned of.
Another problem is to have a fail-over policy to provide the client a seamless experience. Finally we need a separate server to host the load balancer instance which has the impact on cost and maintenance.
2. Client side load balancing
To overcome the problems of traditional load balancing, client side load balancing came into picture. They reside in the application as inbuilt component and bundled along with the application, so we don’t have to deploy them in separate servers.
Now let’s visualize the big picture. In microservice architecture, we will have to develop many microservices and each microservice may have multiple instances in the ecosystem. To overcome this complexity we have already one popular solution to use service discovery pattern. In spring boot applications, we have couple of options in the service discovery space such as eureka, consoul, zookeeper etc.
Now if one microservice wants to communicate with another microservice, it generally looks up the service registry using discovery client and Eureka server returns all the instances of that target microservice to the caller service. Then it is the responsibility of the caller service to choose which instance to send request.
Here the client side load balancing comes into picture and automatically handles the complexities around this situation and delegates to proper instance in load balanced fashion. Note that we can specify the load balancing algorithm to use.
3. Netflix ribbon – Client side load balancer
Netflix ribbon from Spring Cloud family provides such facility to set up client side load balancing along with the service registry component. Spring boot has very nice way of configuring ribbon client side load balancer with minimal effort. It provides the following features
- Load balancing
- Fault tolerance
- Multiple protocol (HTTP, TCP, UDP) support in an asynchronous and reactive model
- Caching and batching
To get ribbon binaries, go to maven central. Here is an example to add dependency in Maven:
<dependency>
    <groupId>com.netflix.ribbon</groupId>
    <artifactId>ribbon</artifactId>
    <version>2.2.2</version>
</dependency>
4. Netflix ribbon example
4.1. Technology stack
- Java, Eclipse, Maven as Development Environment
- Spring-boot and Cloud as application framework
- Eureka as Service registry Server
- Ribbon as Client Side Load balancer
We will create the following components and see how the whole eco system coordinates in distributed environment.
- Two microservices using Spring boot. One needs to invoke another as per business requirement
- Eureka service registry server
- Ribbon in the invoking microservice to call the other service in load balanced fashion WITH service discovery
- Invoking service in load balanced manner WITHOUT service discovery
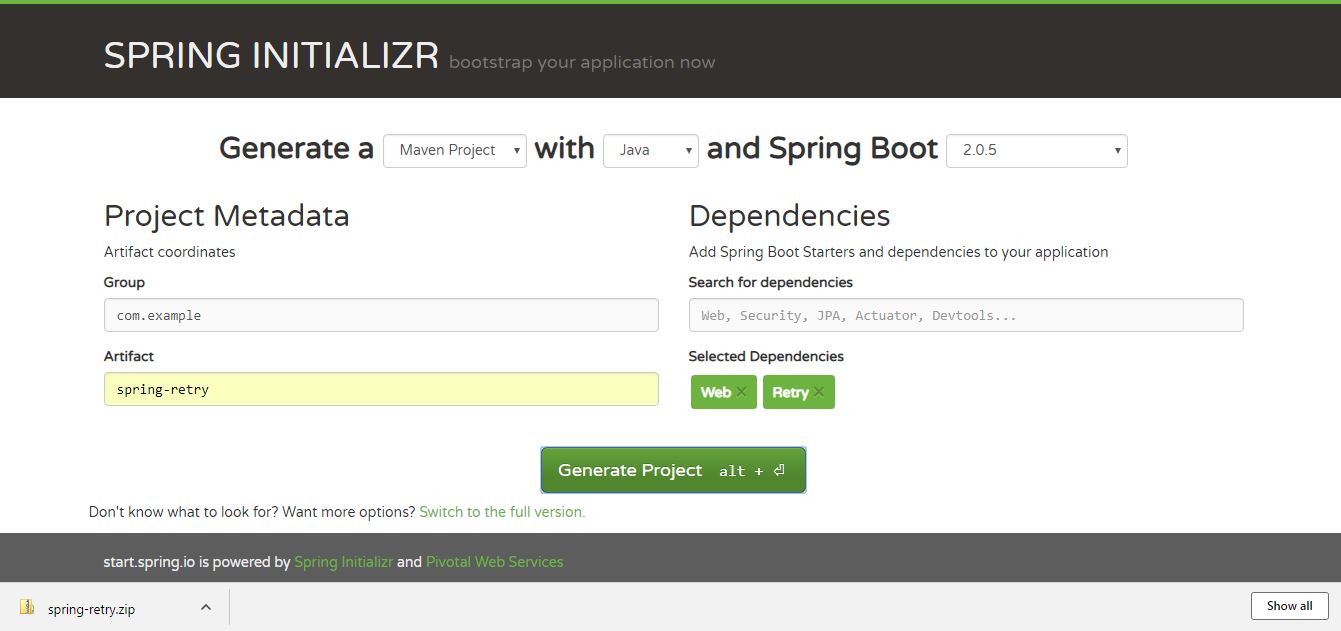
4.2. Create backend microservice
We will create a simple microservice using Spring boot and will expose oe simple REST endpoint. Create one simple spring boot project named ribbon-server with spring-boot-web and service discovery client dependency for hosting this in web server and expose one Rest Controller to test.
To do this we need to go to https://start.spring.io/ and give the maven coordinates and select dependencies. Download the zip file containing the skeleton project. Then we need to import that in eclipse once unzipped in suitable folder.
4.2.1. Create rest endpoint
Write one Rest Controller and expose one Rest Endpoint as below.
package com.example.ribbonserver;

import org.springframework.beans.factory.annotation.Autowired;
import org.springframework.core.env.Environment;
import org.springframework.web.bind.annotation.GetMapping;
import org.springframework.web.bind.annotation.RestController;

@RestController
public class MyRestController {

	@Autowired
	Environment environment;

	@GetMapping("/")
	public String health() {
		return "I am Ok";
	}

	@GetMapping("/backend")
	public String backend() {
		System.out.println("Inside MyRestController::backend...");

		String serverPort = environment.getProperty("local.server.port");

		System.out.println("Port : " + serverPort);

		return "Hello form Backend!!! " + " Host : localhost " + " :: Port : " + serverPort;
	}
}
4.2.2 Enable discovery client
Register this service to eureka to do that we need to add @EnableDiscoveryClient in the application class. Also we need to add below entries in the application propererty file.
package com.example.ribbonserver;

import org.springframework.boot.SpringApplication;
import org.springframework.boot.autoconfigure.SpringBootApplication;
import org.springframework.cloud.client.discovery.EnableDiscoveryClient;

@SpringBootApplication
@EnableDiscoveryClient
public class RibbonServerApplication {

	public static void main(String[] args) {
		SpringApplication.run(RibbonServerApplication.class, args);
	}
}
spring.application.name=server
server.port = 9090

eureka.client.serviceUrl.defaultZone= http://${registry.host:localhost}:${registry.port:8761}/eureka/
eureka.client.healthcheck.enabled= true
eureka.instance.leaseRenewalIntervalInSeconds= 1
eureka.instance.leaseExpirationDurationInSeconds= 2
4.3. Eureka service regstry server
Create the service discovery server. This is also very easy. Just we need to create a spring boot project as above with Eureka Server as dependency and do the below configurations.
4.3.1. Eureka server configuration
Once the spring boot service is ready and imported in eclipse, add @EnableEurekaServer annotation in the spring boot application class and also add the below configuration in application properties file.
package com.example.ribboneurekaserver;

import org.springframework.boot.SpringApplication;
import org.springframework.boot.autoconfigure.SpringBootApplication;
import org.springframework.cloud.netflix.eureka.server.EnableEurekaServer;

@SpringBootApplication
@EnableEurekaServer
public class RibbonEurekaServerApplication {

	public static void main(String[] args) {
		SpringApplication.run(RibbonEurekaServerApplication.class, args);
	}
}
spring.application.name= ${springboot.app.name:eureka-serviceregistry}
server.port = ${server-port:8761}
eureka.instance.hostname= ${springboot.app.name:eureka-serviceregistry}
eureka.client.registerWithEureka= false
eureka.client.fetchRegistry= false
eureka.client.serviceUrl.defaultZone: http://${registry.host:localhost}:${server.port}/eureka/
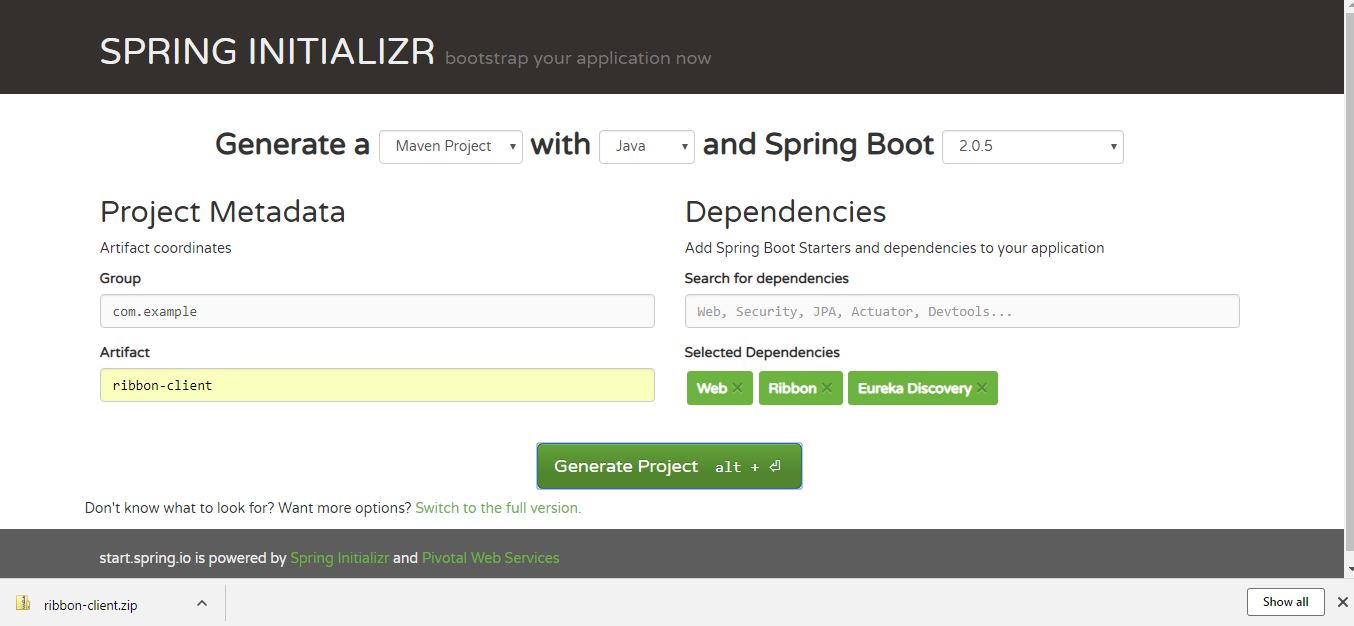
4.4. Create another microservice
Follow previous section to create another service named ribbon-client with added depedency spring-cloud-starter-netflix-ribbon. Once downloaded, import the project in eclipse and do the following configurations.
4.4.1. Ribbon configuration
In the application class, add two annotations @RibbonClient and @EnableDiscoveryClient to enable ribbon and Eureka client for service registry.
package com.example.ribbonclient;

import org.springframework.boot.SpringApplication;
import org.springframework.boot.autoconfigure.SpringBootApplication;
import org.springframework.cloud.client.discovery.EnableDiscoveryClient;
import org.springframework.cloud.netflix.ribbon.RibbonClient;

@EnableDiscoveryClient
@SpringBootApplication
@RibbonClient(name = "server", configuration = RibbonConfiguration.class)
public class RibbonClientApplication {

	public static void main(String[] args) {
		SpringApplication.run(RibbonClientApplication.class, args);
	}
}
In the application.properties, we need to do the below configurations. Here server.ribbon.listOfServers is disabled, we can enable this to manually add server to this load balancer. We will check this in the testing section. Other properties are self explanatory.
spring.application.name=client
server.port=8888

eureka.client.serviceUrl.defaultZone= http://${registry.host:localhost}:${registry.port:8761}/eureka/
eureka.client.healthcheck.enabled= true
eureka.instance.leaseRenewalIntervalInSeconds= 1
eureka.instance.leaseExpirationDurationInSeconds= 2

server.ribbon.eureka.enabled=true
#server.ribbon.listOfServers=localhost:9090,localhost:9091,localhost:9092
server.ribbon.ServerListRefreshInterval=1000
#logging.level.root=TRACE
Now we need to create one more configuration class for ribbon to mention the load balancing algorithm and health check. We will now use the default once provided by Ribbon, but in this class we can very well override those and add ours custom logic.
package com.example.ribbonclient;
import com.netflix.client.config.IClientConfig;
import com.netflix.loadbalancer.AvailabilityFilteringRule;
import com.netflix.loadbalancer.IPing;
import com.netflix.loadbalancer.IRule;
import com.netflix.loadbalancer.PingUrl;
import org.springframework.beans.factory.annotation.Autowired;
import org.springframework.context.annotation.Bean;
import org.springframework.context.annotation.Configuration;

public class RibbonConfiguration {

    @Autowired
    IClientConfig config;

    @Bean
    public IPing ribbonPing(IClientConfig config) {
        return new PingUrl();
    }

    @Bean
    public IRule ribbonRule(IClientConfig config) {
        return new AvailabilityFilteringRule();
    }
}
5. Test the application
5.1. Start components
Do the final build use command mvn clean install and check if the build is successful. If there is any error you need to fix those to proceed. Once we have successful build for all the maven projects, we will start the services one by one.
Eureka first, then the back-end micro service and finally the frontend micro service.
To start each microservice, we will use 'java -jar -Dserver.port=XXXX target/YYYYY.jar' command.
5.2. Deploy multiple instances of backend microservice
To do that we need to use different port for this, to start service in a specific port we need to pass the port in this way.
java -jar -Dserver.port=XXXX target/YYYYY.jar. We will create 3 instances of this service in ports 9090, 9091 and 9092 ports.
5.3. Verify eureka server
Now go to http://localhost:8761/ in browser and check that eureka server is running with all microservices are registed with desired number of instances.
5.4. Check if client side load balancing is working
In the frontend microservice, we are calling the backend microservice using RestTemplate. Rest tempate is enabled as client side load balancer using @LoadBalanced annotation.
Now go to browser and open the client microservice rest endpoint http://localhost:8888/client/frontend and see that response is coming from any one of the backend instance.
To understand this backend server is returning it’s running port and we are displaying that in client microservice response as well. Try refreshing this url couple of times and notice that the port of backend server keeps changing, that means client side load balancing is working. Now try to add more instance of backend server and check that is also registered in eureka server and eventually considered in ribbon, as once that will be registered in eureka and ribbon automatically ribbon will send request to the new instances as well.
5.5. Test with hard code backends without service discovery
Go the frontend microservice application.properties file and enable this.
server.ribbon.listOfServers=localhost:9090,localhost:9091,localhost:9092
server.ribbon.eureka.enabled=false
Now test the client url. You will get response from the registered instances only. Now if you start new instance of backend microservice in different port, Ribbon will not send request to the new instance until we register that manually in the ribbon.
If you have difficulty in testing this, I will suggest too remove all the eureka related configurations from all the applications and also stop the eureka server. Hope you will not face any difficulty in testing this as well.
6. Summary
So we have seen how easily we can use Ribbon along with Eureka in spring boot microservice development. So next time if you need this kind of requirements, you can use this approach. Comment below if you have any problem understanding this.
Happy Learning !!
References:
I wonder why we write listofservers property. How it will work in autoscaling . Would i add / remove server port number from listofServers everytime as i autoscale ?
this might sound crazy but when you do this http://localhost:8888/client/frontend add a “/” at the end. so basically http://localhost:8888/client/frontend/
Suppose I have 5 instances are running for a micro service. But I want to connect to a particular instance all the time.
Which Rule should I use.Or can you please advise how to achieve this.
Thanks for the awesome post. But I found some error in this-
1) add on client side controller /client/frontend/{id}
2) when hit http://localhost:8888/client/frontend/abc. some hit got response and some never gives you response.
Thank you so much for this great post!
Well written and explained article.
You need to call Ribbon client end point to get the server response. Check the code for better understanding.
Thank you for your post, am getting below exception when I try to hit backend URL,
typo correction trying to use below url
http://localhost:8888/client/frontend
Thank you so much, this is a great post.
just wonderful…….
But i have question is it possible to increase the number of server for load balancing dynamically. i mean that if the load on all the client server increases i need to create a new instance to do the balancing and after that if the load is normal it should remove the new node.
Hi,
Thank you for your post, and I have one question.
When I invoke ” http://localhost:8888/client/frontend” , i got “There was an unexpected error (type=Not Found, status=404).
” . I have everything up and running. Do you have any ideas how to fix the problem ?
Thanks
In the source file “MyClientSideController.java”, remove PathVariable in method “hi” i.e. change method “public String hi(@PathVariable() String id)” to “public String hi()”.
Do a “mvn clean install” and start the service.
server.ribbon.listOfServers property seems not working for me. Am I missing something?
yes same here as well, its not working for me as well even if we set server.ribbon.eureka.enabled to false, ideally it should pick from server.ribbon.listOfServers but that is not happening
Could you please update how to execute this code and which endpoints to call and what is the expected output ?