IntelliJ Idea is one of the most popular IDE among developers according to the latest StackOverFlow developer survey. Also, Maven is among the most popular build tool for Java projects. Knowing how to use both projects to create, build and manage a Java application is very important.
This tutorial discusses a few of the most common actions we do in a Java application created with Maven and developed using IntelliJ.
1. Create a New Maven Project in IntelliJ
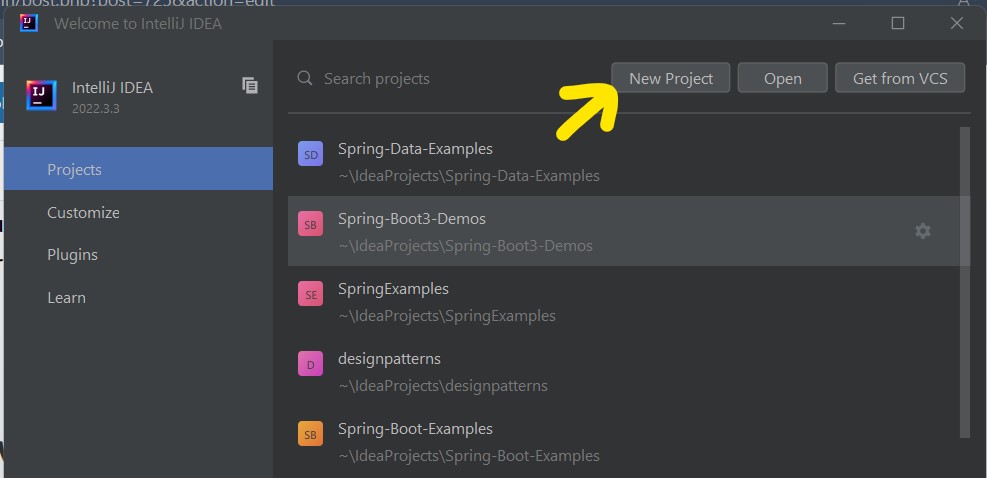
When we start the IntelliJ IDE, a project wizard opens which asks for either creating a new project or importing an existing project. We can press the New button to launch a new project wizard.
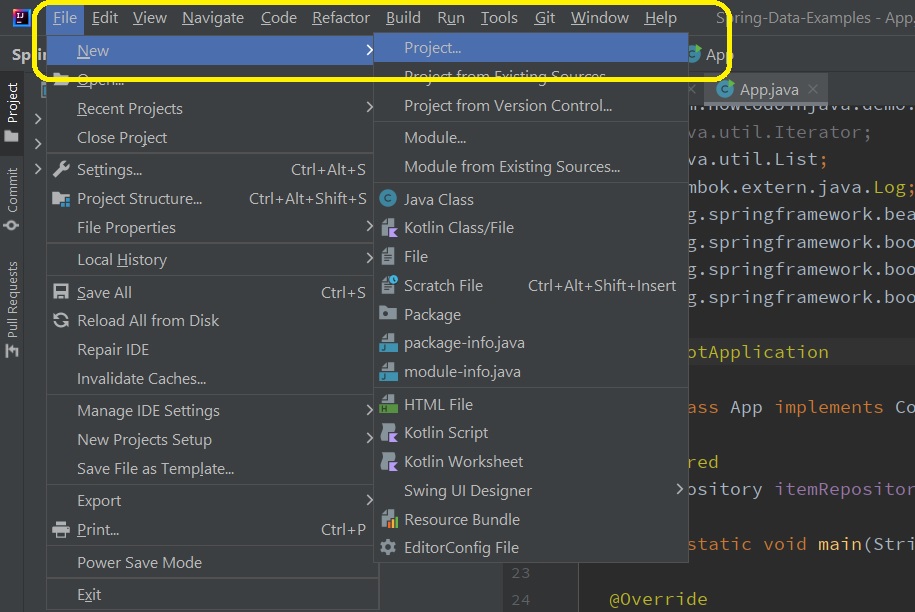
Alternatively, we can choose the new project wizard from inside the IDE by selecting 'File -> New -> Project'
In the next window, we can need to select “Maven Archetype” from the left panel and fill in the project properties in the right panel. At this step, we also need to select the Archetype that decides which type of Maven application we are creating and it generates the folder structure according to the selected archetype.
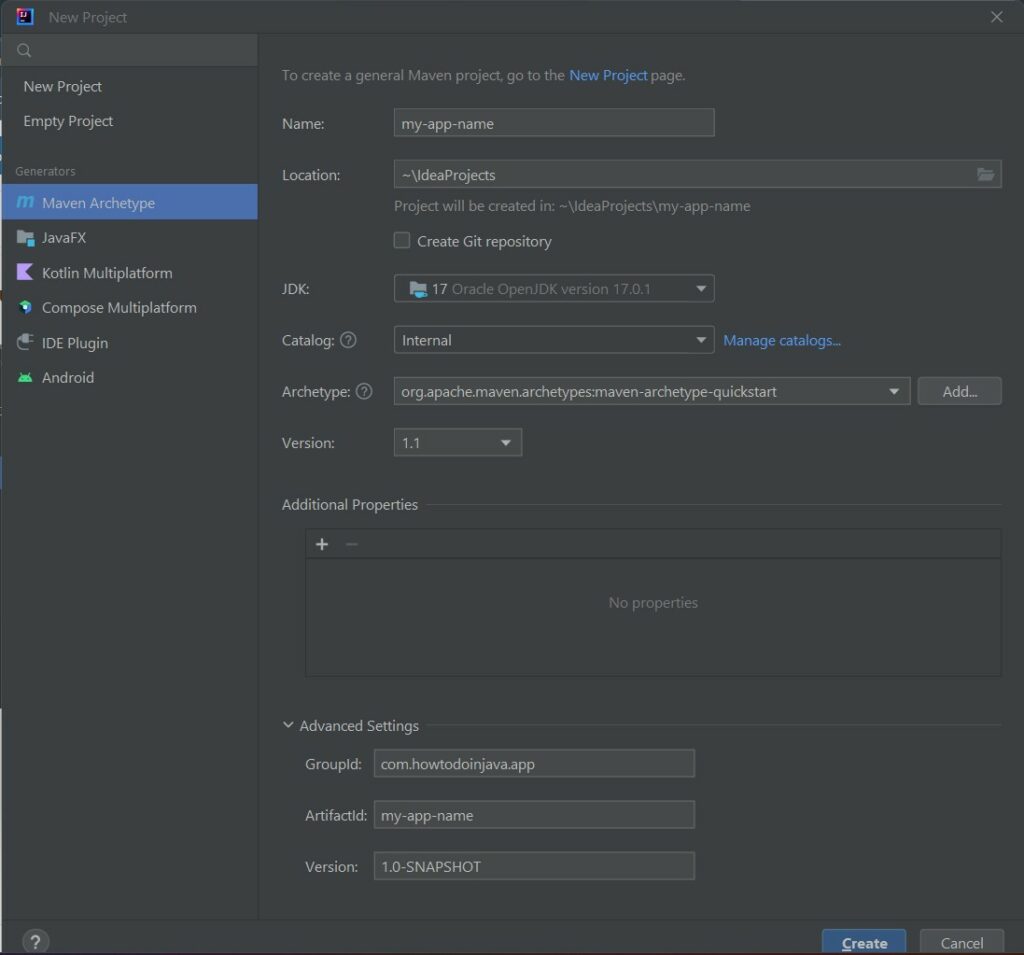
Press the create button and the project will be created in the workspace.
2. Convert an Existing Project to IntelliJ Idea Project
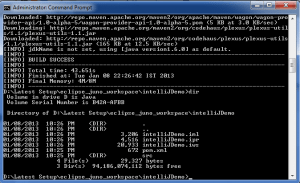
Sometimes, we may have a Maven project previously developed in other IDEs such as Eclipse. We can convert it to the IntelliJ project using the following command:
mvn idea:ideaAbove command will download the project plugins for IntelliJ. And, above command will also create the project file (.ipr), module file (.iml) and workspace file (.iws).

3. Commonly Used Maven Commands
Once we have created a new project or imported an existing Maven project into Intellij, We can start developing the application. During the development, we will frequently be using the following Maven commands in the terminal.
3.1. compile
It compiles the source code of the project.
mvn compileWe can run the command from the IDE also by navigating to: Right-click on the project root in the Project tool window, go to “Maven,” and select “Compile.”
3.2. clean install
Cleans the project by deleting the output directories and files generated during the build process. Also builds and installs the project artifacts into the local Maven repository.
mvn clean installWe can run the command from the IDE also by navigating to: Right-click on the project root in the Project tool window, go to “Maven,” and select “Install.”
3.3. clean package
Packages the compiled code into a distributable format, such as a JAR or WAR file.
mvn clean packageWe can run the command from the IDE also by navigating to: Right-click on the project root in the Project tool window, go to “Maven,” and select “Package.”
3.4. test
Runs the tests for the project.
mvn test3.5. dependency:tree
Displays the project’s dependency tree, showing all the maven dependencies (including transitive dependencies) added to the project and their versions.
mvn dependency:tree4. Configure Locally Installed Maven
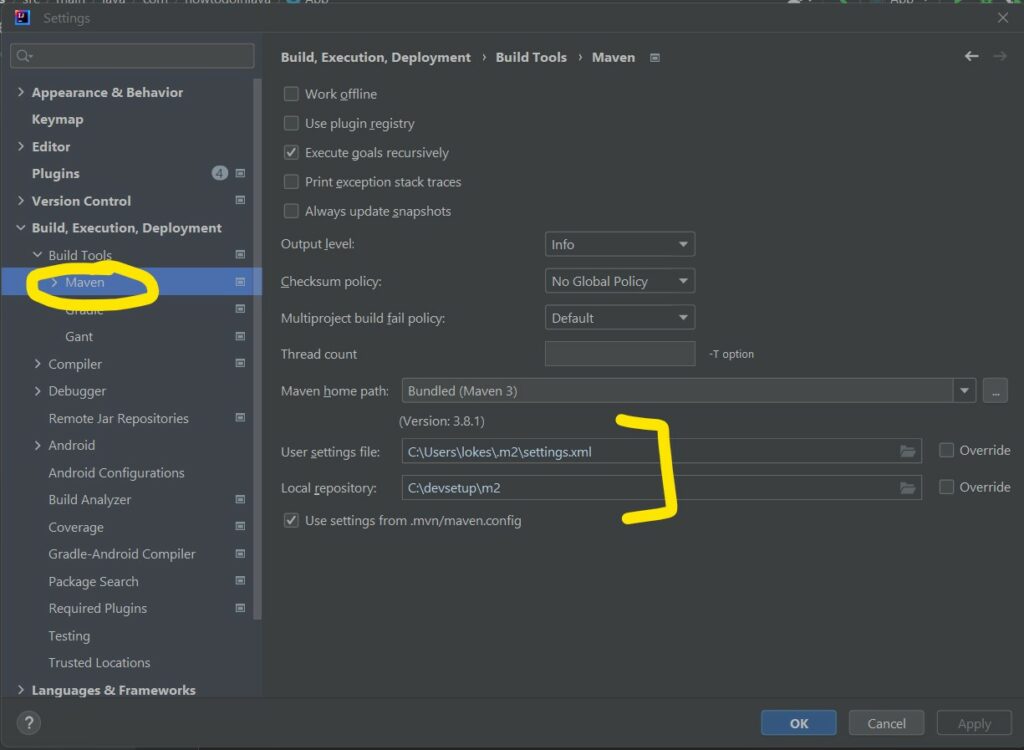
By default, IntelliJ comes with bundled Maven which works great in most cases. But sometimes, we may need to change it to locally installed Maven for custom settings and possible errors.
Navigate to the File -> Settings -> Build, Execution, Deployment -> Maven and choose the locally installed maven path and local repository location as required.
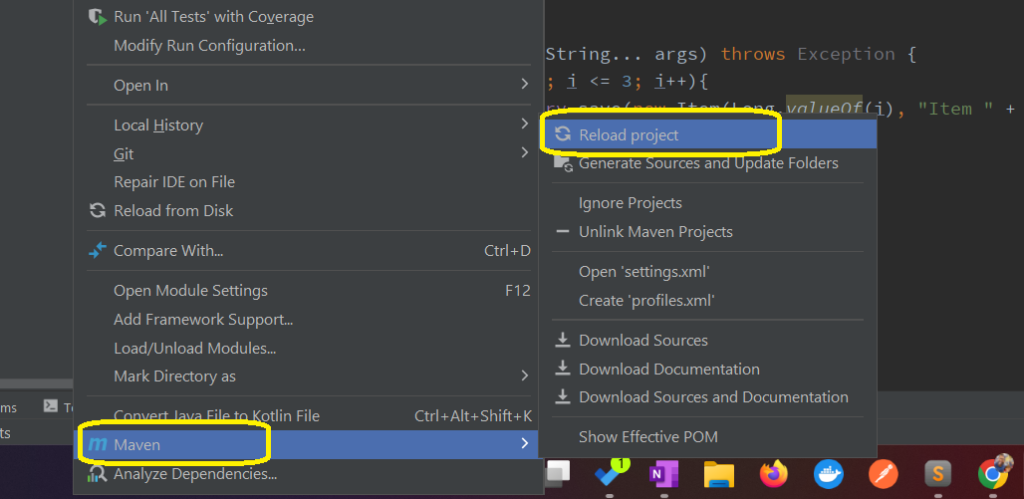
5. Fixing Maven Issues
Sometimes, there will be errors and dependency updates will not apply due to unknown causes. In almost all cases, doing a Maven reload project will fix issues of such kinds.
Navigate to Right Click on Project -> Maven -> Reload project.
6. Conclusion
This tutorial discussed the various common actions tasks performed in IntelliJ IDE for a Maven project. We learned to create a new project, perform common development operations and fix issues.
Happy Learning !!
Thanks bunch, it helped me.
Thanks. it really helps.