
Learn to create a Maven web project in Eclipse, which we should be able to import into the Eclipse IDE for further development.
To create an Eclipse-supported web project, we will need to create a normal Maven web application and then make it compatible with the Eclipse IDE.
Step 1: Create a Maven Web Application
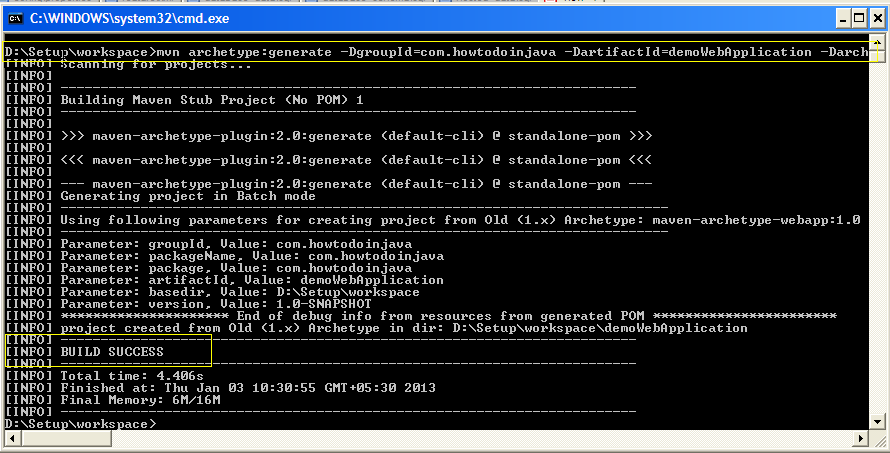
Run this maven command to create a maven web project named ‘demoWebApplication‘. Maven archetype used is ‘maven-archetype-webapp‘.
$ mvn archetype:generate
			-DgroupId=com.howtodoinjava
			-DartifactId=demoWebApplication
			-DarchetypeArtifactId=maven-archetype-webapp
-DinteractiveMode=falsegroupId: The unique identifier for your project (usually a reverse domain name, e.g.,com.example.mywebapp).artifactId: The name of your application or project (e.g.,mywebapp).maven-archetype-webapp: Archetype for creating a simple web application.interactiveMode: When set tofalse, Maven skips the interactive prompts.
This will create maven web project structure and web application-specific files like web.xml.
Step 2. Convert Project to Eclipse Dynamic Web Project
The following maven command needs to be run to convert the created Maven web project to an Eclipse dynamic web project.
$ mvn eclipse:eclipse -Dwtpversion=2.0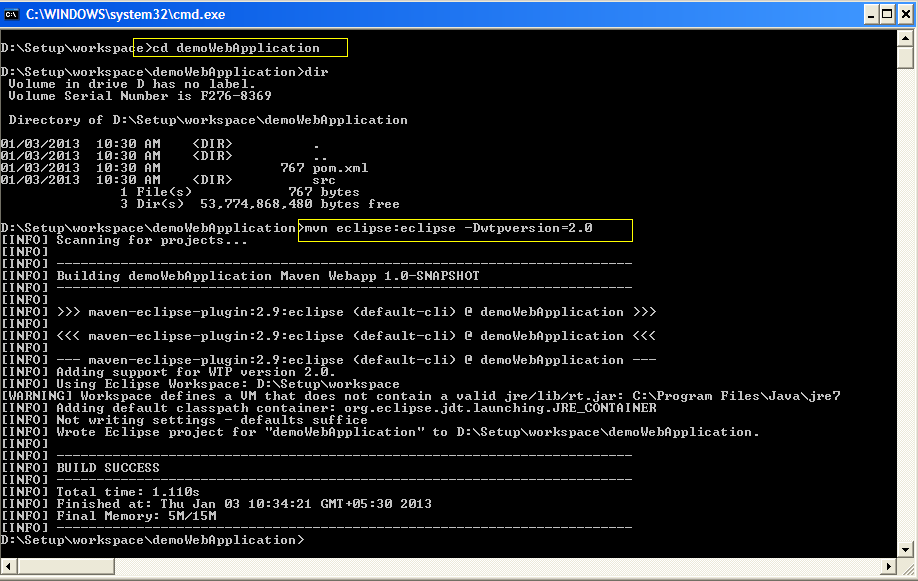
Please remember that adding “-Dwtpversion=4.0” is necessary, otherwise using only “
mvn eclipse:eclipse” will convert it to only normal Java project (without web support), and you will not be able to run it as web application.
Step 3. Import Web Project into Eclipse
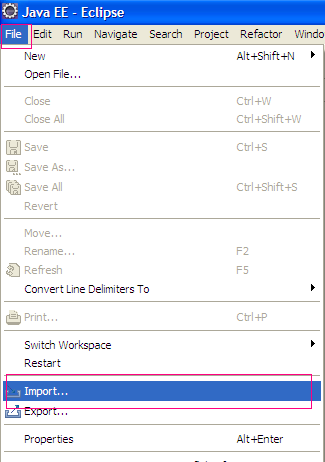
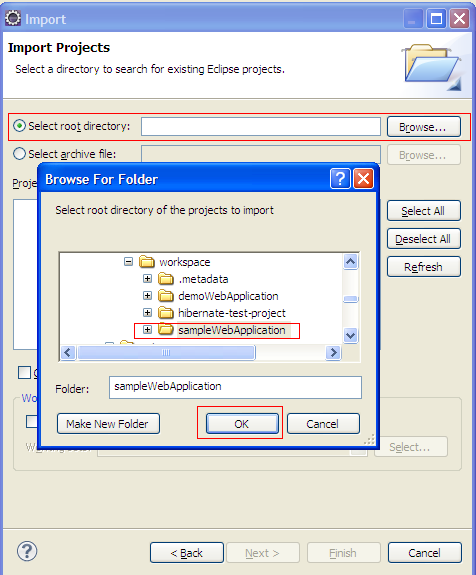
- Click on File menu and click on Import option.
- Now, click on “Existing project..” in general section.
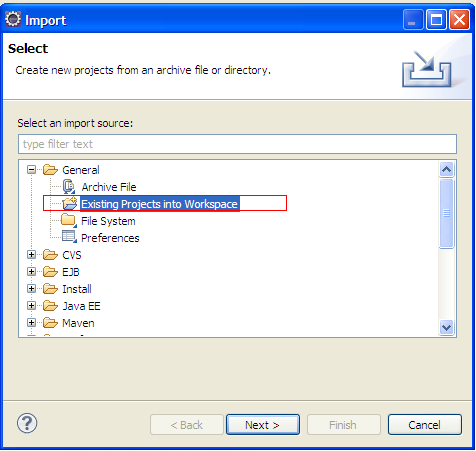
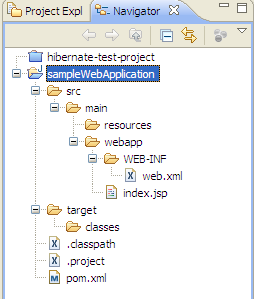
- Now, browse the project root folder and click OK. Finish.
- Above steps will import the project into eclipse work space. You can verify the project structure like this.
In this Maven tutorial, we learned how to create a Maven dynamic web project in Eclipse. For this example, I used Eclipse Oxygen. You may have a different Eclipse version, but the steps will be the same.
Happy Learning !!
Comments