
Learn different ways to install Ollama on your local computer/laptop with detailed steps. And use Ollama APIs to download, run, and access an LLM model’s Chat capability using Spring AI much similar to what we see with OpenAI’s GPT models.
1. What is Ollama?
Ollama is an open-source project that allows you to easily run large language models (LLMs) on your computer. This is quite similar to what Docker did to the project’s external dependencies such as the database or JMS. The difference is that Ollama focuses on running large language models (LLMs).
Ollama simplifies the process of downloading, installing, and interacting with LLMs. It supports a variety of models, including LLaMA-2, Mistral, and CodeLLaMA. We can also fine-tune the models’ behavior to fit our specific needs.
2. Installing Ollama
Ollama offers three main installation methods:
2.1. Using Installer File
This is the simplest method for beginners on Windows and Mac.
- Visit the official Ollama website: https://ollama.com/
- Click the “Download” button.
- The website will automatically detect your operating system and offer the appropriate installer.
- Download the installer file (.exe for Windows, .dmg for Mac).
- Double-click the downloaded file and follow the on-screen instructions for installation.
Start Ollama using the following command in your terminal:
ollama serve2.2. Using Command Line
This method offers more flexibility for Linux users.
Open a terminal window. Run the following command to download and install Ollama in one step:
c url -fsSL https://ollama.com/install.sh | shStart Ollama using the following command in your terminal:
ollama serve2.3. Using Docker
This method allows you to run Ollama in a containerized environment, potentially offering better isolation and resource management. Make sure Docker Desktop is installed on your system.
Open a terminal window. Run the following command to pull the official Ollama Docker image:
docker pull ollama/ollama(Optional) Specify GPU usage if you have a compatible GPU:
docker run -d --gpus all -v ollama:/root/.ollama -p 11434:11434 --name ollama ollama/ollamaReplace ‘all’ with the specific GPU device ID if you have multiple GPUs. This command mounts a volume (ollama) to persist data and maps the container port (11434) to the host port (11434).
Regardless of GPU usage, you can start the container using:
docker start ollamaStart Ollama using the following command in your terminal:
ollama serve3. Download and Run a Model
After installing Ollama, we can download a supported LLM model, run and start interacting with it.
Note that these models can be large (several gigabytes). Ensure you have sufficient disk space.
The easiest way to download and run a model is from the command prompt/terminal using the ‘ollama run modelname‘ command:
ollama run gemma2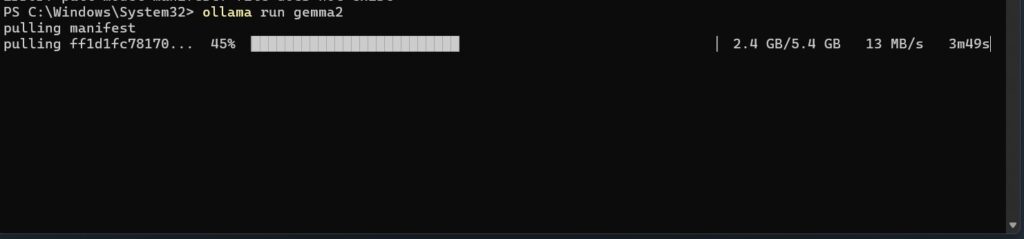
This command initializes Ollama and prepares the Gemma2 model for interaction. We can input text prompts or commands specific to the model’s capabilities and Ollama will process these using the downloaded model.
4. Connecting to Ollama API
Ollama’s REST-style APIs facilitate the integration of AI capabilities into 3rd-party client applications. The API is available at ‘http://localhost:11434‘ by default. Make sure that Ollama is running in the background for the API to be accessible.
We can access one of the supported API endpoints to perform an action. For example, we can generate a completion on ‘POST /api/generate’ as follows:
curl http://localhost:11434/api/generate -d '{
  "model": "llama3",
  "prompt": "Why is the sky blue?"
}'
We can also make HTTP requests from our applications to use the API. For demo purposes, we can send requests using cURL, or API clients such as Postman:
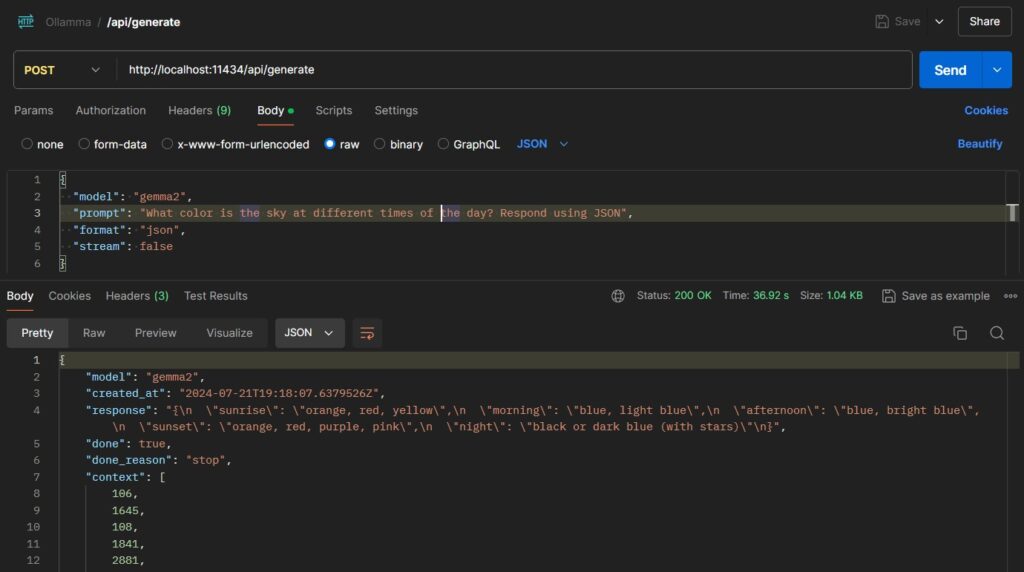
curl http://localhost:11434/api/generate -d '{"model": "gemma2", "prompt": "Why is the sky blue?"}'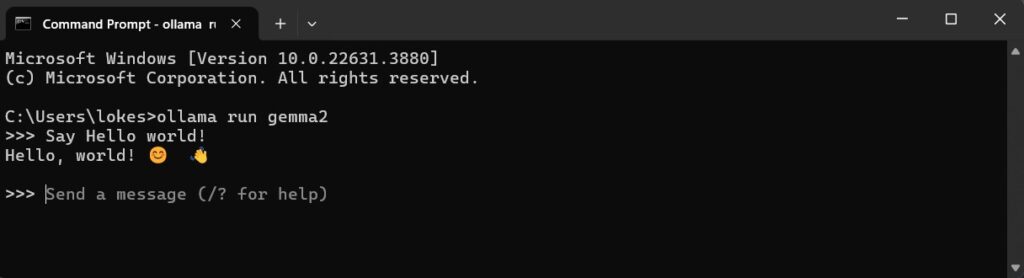
When tested on Postman with “stream”: false, we get a response as follows:
5. Connecting with Spring AI
Similar to other LLM providers, Spring AI supports calling Ollama APIs using its ChatModel and EmbeddingModel interfaces. Internally it creates the instance of OllamaChatModel and OllamaEmbeddingModel classes.
5.1. Maven
Start with adding the necessary dependency. For setting up a project from scratch, refer to getting started guide for Spring AI.
<dependency>
  <groupId>org.springframework.ai</groupId>
  <artifactId>spring-ai-ollama-spring-boot-starter</artifactId>
</dependency>
5.2. Base URL and Model Name
By default, Spring AI uses the base URL as 'http://localhost:11434', and the model name is 'mistral'. If you are running Ollama in any other port, you can configure it in the properties file:
spring.ai.ollama.base-url=http://localhost:11434
spring.ai.ollama.chat.options.model=gemma
spring.ai.ollama.chat.options.temperature=0.4
You may refer to other supported properties and change them according to your requirements.
When using Java configuration, we can pass the base URL and model name in the OllamaOptions builder instance:
@Bean
OllamaChatModel ollamaChatModel(@Value("spring.ai.ollama.base-url") String baseUrl) {

  return new OllamaChatModel(new OllamaApi(baseUrl),
    OllamaOptions.create()
      .withModel("gemma")
      .withTemperature(0.4f));
}
5.3. Sending Prompts and Accessing Response
When using Spring AI, the recommended way to interact with any LLM is always its Model classes such as ChatModel, ImageModel, or EmbeddingModel. In the case of Ollama also, we will use the ChatModel interface.
In the following code, we are calling the chat streaming API stream(prompt) that will generate the output in the stream.
@Autowired
OllamaChatModel chatModel;

@Override
public void run(String... args) throws Exception {

chatModel.stream(new Prompt(
    "Generate the names of 5 famous pirates.",
    OllamaOptions.create()
      .withModel("gemma2")
      .withTemperature(0.4F)
  )).subscribe(chatResponse -> {
    System.out.print(chatResponse.getResult().getOutput().getContent());
  });

}
To access the chat model synchronously, we can use the chat(prompt) method.
ChatResponse response = chatModel.call(
  new Prompt(
    "Generate the names of 5 famous pirates.",
    OllamaOptions.create()
      .withModel("gemma2")
      .withTemperature(0.4F)
  ));

response.getResults()
  .stream()
  .map(generation -> generation.getOutput().getContent())
  .forEach(System.out::println);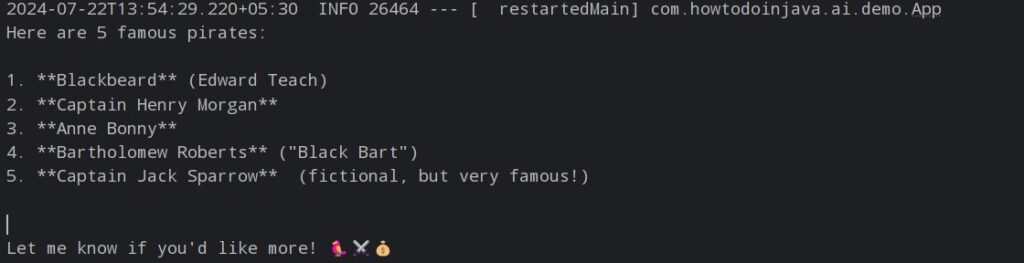
6. Summary
In this Spring AI Ollama local setup tutorial, we learned to download, install, and run an LLM model using Ollama. A bit similar to Docker, Ollama helps in managing the life-cycle of LLM models running locally and provides APIs to interact with the models based on the capabilities of the model.
Then we learned to access the Ollama installed model and its APIs from several types of clients such as cURL and Postman.
Finally, we set up a Spring AI project and access the model’s chat API using the ChatModel abstraction provided by the Spring AI module.
Happy Learning !!
Comments