In this Spring boot 2 rmi example, learn how spring provides different mechanism to invoke remote methods which are hosted in different JVMs and most likely in different server. This is referred as RMI (remote method invocation) concept.
RMI has been in earlier EJB days. In today’s HTTP/HTTPS world, the SOAP and REST are dominant in implementing any service, but remoting is still is an option in spring framework. Today we will see two new protocols in this space mainly Hessian and RMI.
Table of Contents

1. What is remoting?
2. Spring remoting techniques
3. Spring remoting - Create RMI Service
4. Spring remoting - Create RMI Client
5. Spring remoting with Hessian
6. Summary
1. What is remoting?
The Spring framework offers a range of tools comprehensively called Spring Remoting. These tools allows us to invoke remote services on remote systems as if they were available locally.
Generally not needed, but We still might have some situations where we will prefer to use the remoting. The primary reason to use remoting is the performance and security. HTTP based service has some performance impact as we have to process the request and response (marshaling/unmarshaling). More importantly if the server is already exposed as remote services only using these technologies, then client has no other option to than RMI.
2. Spring remoting techniques
Mainly below are the ways spring helps us to achieve remoting.
- Remote Method Invocation (RMI) – In spring RMI has been achieved by using RmiServiceExporter in server side and RmiProxyFactoryBean in client side.
- Spring’s HTTP invoker – This is another way of remoting by using HttpInvokerProxyFactoryBean and HttpInvokerServiceExporter. This is basically Java serialization via HTTP, supporting any Java interface.
- Hessian – It is a lightweight binary HTTP-based protocol provided by Caucho. We can use the Spring wrapper of Hessian Spring’s HessianProxyFactoryBean and the HessianServiceExporter to expose and consume remote service. Internally it use binary data while transport
- Burlap – Burlap is an XML based protocol for remoting. It has also been developed by Caucho. It is similar to Hessian, the only difference being Hessian is binary and Burlap is XML. Like Hessian, Burlap needs to be hosted over HTTP. Similar to Hessian, it has a BurlapServiceExporter and a BurlapProxyFactoryBean class.
Note that since Burlap is not being actively developed, its support has been deprecated since Spring 4.0.
3. Spring RMI remoting – Create RMI Service
As I mentioned above, we will use spring boot for developing the projects, for both RMI and Hessian. We will create two maven projects. First project for Server which is hosting the implementation, and another is the client part. Client application will communicate with the server by respective remote protocol to invoke the remote method.
3.1. Create maven projects
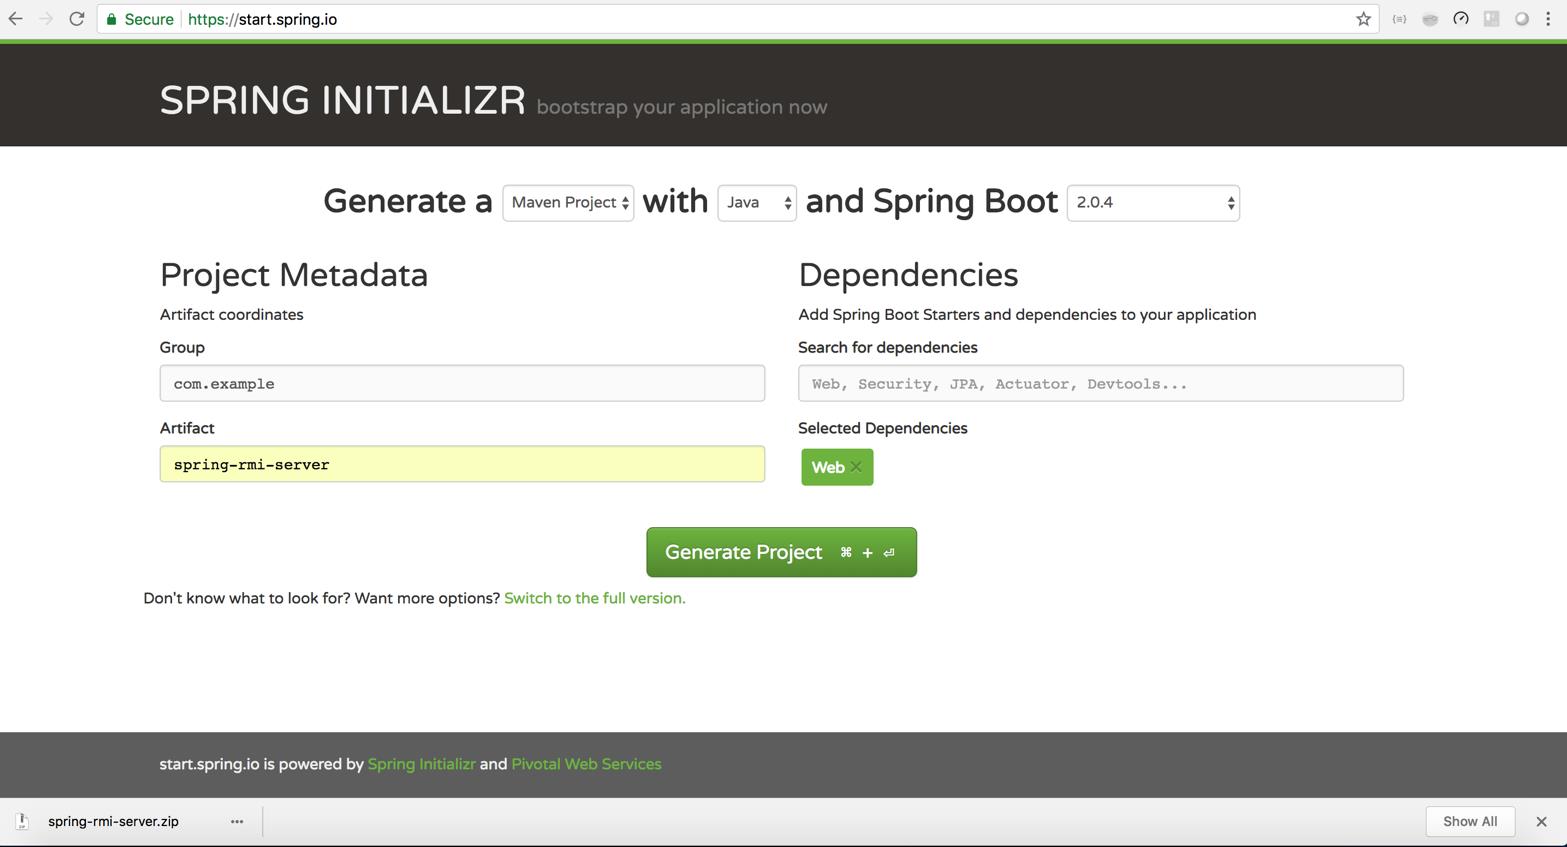
Create two simple spring boot project named spring-rmi-server and spring-rmi-client with spring-boot-web dependency for hosting this in web server.
To do this we need to go to https://start.spring.io/ and give the maven coordinates and select dependencies. Download the zip file containing the skeleton project. Then we need to import that in eclipse once unzipped in suitable folder.
We don’t need the web dependency in client project as we will run this as standalone application.
3.2. Create Spring RMI Services
Write the Java interface and implementation of RMI service which we want to expose. For this tutorial, we will create one simple hello world application which will greet the user based on the input. Here are the required interface and its implementation.
package com.example.springrmiserver.service;

public interface HelloWorldRMI
{
	public String sayHelloRmi(String msg);
}
package com.example.springrmiserver.service;

import java.util.Date;

public class HelloWorldRMIimpl implements HelloWorldRMI {

	@Override
	public String sayHelloRmi(String msg) {
		System.out.println("================Server Side ========================");
		System.out.println("Inside Rmi IMPL - Incoming msg : " + msg);
		return "Hello " + msg + " :: Response time - > " + new Date();
	}
}
3.3. Spring RMI Service Configuration
Create a spring bean configuration class in the server project to register the interface and implementation to RMI exporter using RmiServiceExporter. We need to give the endpoint name of it for expose. This will expose the implementation class in a rmi based url like rmi://localhost:1099/.
- ServiceInterface – We need to provide the class of the interface that we want to publish.
- Service – This is the instance of the service implementation class. Here for simplicity, I have created a new instance, but we can here easily give another spring bean that we want to expose.
- ServiceName – as mentioned above, this is the service name that we want to associate with the service in the rmi url, which will be used by the clients to invoke the service.
package com.example.springrmiserver;

import org.springframework.context.annotation.Bean;
import org.springframework.context.annotation.Configuration;
import org.springframework.remoting.rmi.RmiServiceExporter;
import org.springframework.remoting.support.RemoteExporter;

import com.example.springrmiserver.service.HelloWorldRMI;
import com.example.springrmiserver.service.HelloWorldRMIimpl;

@Configuration
public class Config {

	@Bean
	RemoteExporter registerRMIExporter() {

		RmiServiceExporter exporter = new RmiServiceExporter();
		exporter.setServiceName("helloworldrmi");
		exporter.setServiceInterface(HelloWorldRMI.class);
		exporter.setService(new HelloWorldRMIimpl());

		return exporter;
	}
}
3.4. Build and deploy RMI Service
We can now do the final build and start the provided tomcat server. Make sure your server came up properly and note the ports specially the RMI port, it should be 1099. We will use this port in the client side to access the service.
2018-09-07 21:37:22.872  INFO 6452 --- [main] o.s.remoting.rmi.RmiServiceExporter
: Binding service 'helloworldrmi' to RMI registry:
RegistryImpl[UnicastServerRef [liveRef: [endpoint:[192.168.1.7:1099](local),objID:[0:0:0, 0]]]]
4. Spring remoting – Create RMI Client
4.1. Create exact same service interface in client project
Create same rmi interface in client application. This is important, rmi will use this interface as skeleton of the server side interface, otherwise we will get exceptions.
4.2. Spring rmi client configuration
Configure the RmiProxyFactoryBean bean in client project to connect with the remote service. Here is the simple default configuration that is required.
package com.example.springrmiclient;

import org.springframework.boot.SpringApplication;
import org.springframework.boot.autoconfigure.SpringBootApplication;
import org.springframework.context.annotation.Bean;
import org.springframework.remoting.rmi.RmiProxyFactoryBean;

import com.example.springrmiserver.service.HelloWorldRMI;

@SpringBootApplication
public class SpringRmiClientApplication {

	@Bean
	RmiProxyFactoryBean rmiProxy() {
		RmiProxyFactoryBean bean = new RmiProxyFactoryBean();
		bean.setServiceInterface(HelloWorldRMI.class);
		bean.setServiceUrl("rmi://localhost:1099/helloworldrmi");

		return bean;
	}

	public static void main(String[] args)
	{
		HelloWorldRMI helloWorldRMI = SpringApplication.run(SpringRmiClientApplication.class, args)
												.getBean(HelloWorldRMI.class);

		System.out.println("================Client Side ========================");

		System.out.println(helloWorldRMI.sayHelloRmi("Sajal"));
	}
}
4.3. Spring rmi remoting example
Now we need to create one main method where we will look up the implementation interface bean from the spring context. Once we have the instance, we can now call the server-side method just like any other local java method invocation.
If everything goes well, your server-side method will be called, check the logs in both server and client, it will be visible.
================Server Side ========================
Inside Rmi IMPL - Incoming msg : Sajal
2018-09-07 21:39:14.776  INFO Registering beans for JMX exposure on startup
2018-09-07 21:39:14.808  INFO Started SpringRmiClientApplication in 1.866 seconds (JVM running for 2.368)
================Client Side ========================
Hello Sajal :: Response time - > Fri Sep 07 21:39:14 IST 2018
5. Spring remoting with Hessian
Hessian remoting is also very similar to RMI remoting. Only change is that we need to Hessian related service exporter in server side and Hessian based proxy bean factory in client side.
5.1. Hessian maven dependency
<dependency>
	<groupId>com.caucho</groupId>
	<artifactId>hessian</artifactId>
	<version>4.0.51</version>
</dependency>
5.2. Hessian service interface and implementation
Like RMI we will create pair of interfaces and its implementation. We can also reuse the RMI one, but I have created a new set in my workspace.
package com.howtodoinjava.hessianserver.hessian;

public interface HelloWorld {
	public String sayHelloWithHessian(String msg);
}
package com.howtodoinjava.hessianserver.hessian;

import java.util.Date;

public class HelloWorldImpl implements HelloWorld {

	@Override
	public String sayHelloWithHessian(String msg) {
		System.out.println("=============server side==============");
		System.out.println("msg : " + msg);
		return "Hello " + msg + " Response time :: " + new Date();
	}
}
5.3. Hessian server-side configuration – Exporter
Here is service exporter, it is like same as RMI. I have just changed the hessian related class.
package com.howtodoinjava.hessianserver;

import org.springframework.context.annotation.Bean;
import org.springframework.context.annotation.Configuration;
import org.springframework.remoting.caucho.HessianServiceExporter;
import org.springframework.remoting.support.RemoteExporter;

import com.howtodoinjava.hessianserver.hessian.HelloWorld;
import com.howtodoinjava.hessianserver.hessian.HelloWorldImpl;

@Configuration
public class HessianConfiguration {

	@Bean(name = "/hellohessian")
	RemoteExporter sayHelloServiceHessian() {
		HessianServiceExporter exporter = new HessianServiceExporter();
		exporter.setService(new HelloWorldImpl());
		exporter.setServiceInterface(HelloWorld.class);
		return exporter;
	}

}
5.4. Hessian client-side configuration – Proxy Bean
Here the configuration is same like RMI but the url is different. Hessian use HTTP as transport protocol. It is a binary protocol that means all the data is transferred to server in binary format. Rest of the complexity is handled by Hessian and spring.
package com.howtodoinjava.example.hessianclient;

import org.springframework.boot.SpringApplication;
import org.springframework.boot.autoconfigure.SpringBootApplication;
import org.springframework.context.ConfigurableApplicationContext;
import org.springframework.context.annotation.Bean;
import org.springframework.remoting.caucho.HessianProxyFactoryBean;

import com.howtodoinjava.hessianserver.hessian.HelloWorld;

@SpringBootApplication
public class HessianClientApplication {

	@Bean
	public HessianProxyFactoryBean hessianInvoker() {
		HessianProxyFactoryBean invoker = new HessianProxyFactoryBean();
		invoker.setServiceUrl("http://localhost:8080/hellohessian");
		invoker.setServiceInterface(HelloWorld.class);
		return invoker;
	}

	public static void main(String[] args) {
		ConfigurableApplicationContext context =  SpringApplication.run(HessianClientApplication.class, args);
		System.out.println("========Client Side===============");
		HelloWorld helloWorld =   	context.getBean(HelloWorld.class);
		System.out.println(helloWorld.sayHelloWithHessian("Sajal"));
	}
}
5.5. Spring hessian remoting example
Once we run the server, if we run the client application. We should see that the server side method has got called.
Here are the logs from both server and client.
2018-09-07 21:46:09.367  INFO 1264 --- [nio-8080-exec-1] o.s.web.servlet.DispatcherServlet        : FrameworkServlet 'dispatcherServlet': initialization started
2018-09-07 21:46:09.403  INFO 1264 --- [nio-8080-exec-1] o.s.web.servlet.DispatcherServlet        : FrameworkServlet 'dispatcherServlet': initialization completed in 36 ms
=============server side==============
msg : Sajal
2018-09-07 21:46:08.903  INFO 6856 --- [           main] o.s.j.e.a.AnnotationMBeanExporter        : Registering beans for JMX exposure on startup
2018-09-07 21:46:09.197  INFO 6856 --- [           main] o.s.b.w.embedded.tomcat.TomcatWebServer  : Tomcat started on port(s): 9090 (http) with context path ''
2018-09-07 21:46:09.205  INFO 6856 --- [           main] c.h.e.h.HessianClientApplication         : Started HessianClientApplication in 6.069 seconds (JVM running for 7.092)
========Client Side===============
Hello Sajal Response time :: Fri Sep 07 21:46:09 IST 2018
6. Summary
Today we have seen how we can expose remote methods as service and consume those remote methods from client side using different remoting protocols. In this demo, we don’t have any such payload unlike web service where we need extra processing for marshaling/unmarshalling.
In this approach the overhead of payload handling can be avoided, but only caveat on this is both server and client should be Java only and those can’t be invoked from other languages/run-times like for REST we can easily call from JavaScript.
Keeping all those in mind, we can choose appropriate approach which is required.
Happy Learning !!
References:
Hi, thanks for the useful article.
I am using spring, and I followed along with your steps, but my client should obtain some DAO objects from the server in order to use them later in a web service controller.
I am using three Tiers architecture.
my first tier is DAO and I am exporting the dao object using RMI and the second tier is the web service.
can you please guide me through the steps
thanks in advance