
In this tutorial, we plan to learn about Spring Boot Actuator and how to add custom information to the /info endpoint. We will need Java 17 or higher, Maven, and your favorite IDE as a prerequisite.
1. Adding Spring Boot Actuator Module
Spring Boot Actuator is a Spring Framework sub-project. It allows us to monitor our application, get information about the project, gather metrics, or just check the state of our application/database.
A very convenient part of the Actuator is that it provides all support out of the box without any additional configuration. All we need to do to access all the information is to add the following dependency in our pom.xml file:
<dependency>
   <groupId>org.springframework.boot</groupId>
   <artifactId>spring-boot-starter-actuator</artifactId>
</dependency>
2. The ‘/info’ Endpoint is Enabled By Default
After adding the actuator dependency, the only remaining step is to enable the endpoints provided by it. Spring boot can provide information to any target type, such as JMX or Web. To use an endpoint:
- The endpoint must be enabled.
- Its exposure must be enabled for the target destination.
By default, all endpoints except /shutdown are enabled. It means ‘/info’ is also enabled, by default.
For web exposure, only ‘/health‘ and ‘/info‘ endpoints are enabled. So for a Spring boot web application, by default, only /health and /info endpoints will be accessible from the browser, and other endpoints can be accessed using JMX.
3. Default Information Provided by ‘/info’ Endpoint
For our demo, we will use the application from the article: Bootstrapping a REST API with Spring Boot. We will open the project and follow the steps from the article’s first point: add the Spring Boot Actuator dependency and enable the /info endpoint.
3.1. Default ‘/info’ Endpoint Response is Empty
When we run the application, the Spring app tells us about the newly exposed endpoint i.e. /actuator
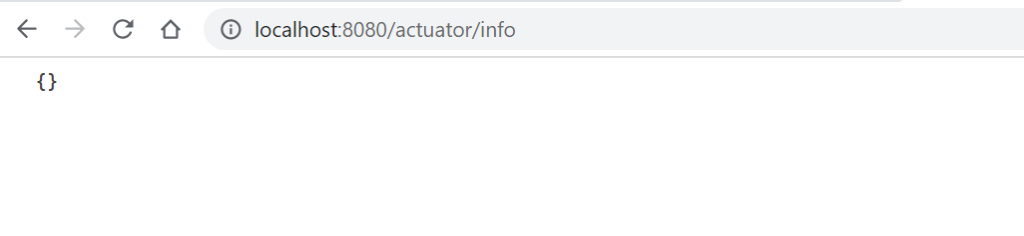
INFO 29776 --- [main] o.s.b.a.e.web.EndpointLinksResolver : Exposing 1 endpoint(s) beneath base path '/actuator'Now we can check the endpoint at the following path: /actuator/info. And we will see the following empty response by default because we did not configure any properties for the /info endpoint.
3.2. Adding Inbuilt Contributors
There are the following inbuilt contributors for application information. We must enable them to include that information in /info response.
- build: Exposes build information from META-INF/build-info.properties file
- env: Exposes any property from the
Environmentwhose name starts withinfo. - git: Exposes git information from git.properties in the classpath.
- java: Exposes Java runtime information.
- os: Exposes Operating System information.
management.info.env.enabled=true
management.info.build.enabled=true
management.info.git.enabled=true
management.info.java.enabled=true
management.info.os.enabled=true
After adding the above properties, the API response will contain the following information based on your runtime environment
{
  "java": {
    "version": "20",
    "vendor": {
      "name": "Oracle Corporation"
    },
    "runtime": {
      "name": "OpenJDK Runtime Environment",
      "version": "20+36-2344"
    },
    "jvm": {
      "name": "OpenJDK 64-Bit Server VM",
      "vendor": "Oracle Corporation",
      "version": "20+36-2344"
    }
  },
  "os": {
    "name": "Windows 11",
    "version": "10.0",
    "arch": "amd64"
  }
}
4. Adding Custom Information to /info Endpoint
4.1. Using application.properties for Static Information
If we want to add static information that would not be changed often, like the name or the description of the project, it’s a good idea to add some static properties.
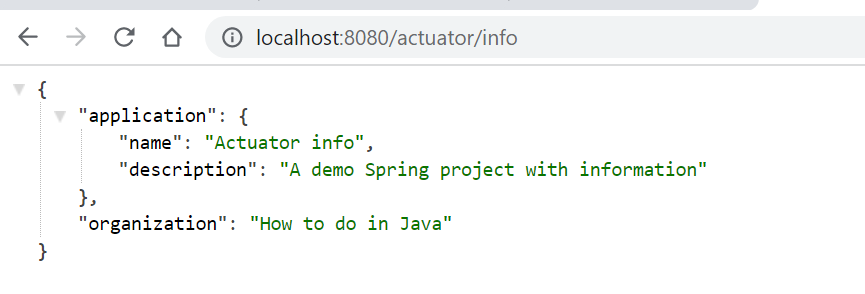
All we need to do is to prefix the name of the property with “info.". We can also group the properties, giving them the same prefixes. We can see below how we added three new pieces of information to our endpoint: the name of the project, the description, and the organization name.
management.endpoints.web.exposure.include = info

info.application.name = Actuator info
info.application.description= A demo Spring project with information
info.organization = How to do in Java
We can see how we grouped the application information together, prefixing both of them with “application.” And the result from our browser will be:
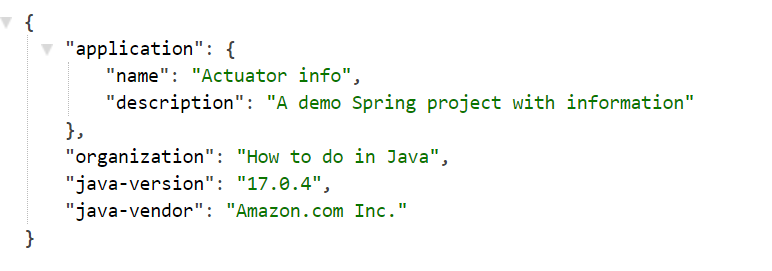
Also, we can add dynamic variables like the version of the application, port, Java version, or any environment variables.
info.java-version = ${java.version}
info.java-vendor = ${java.vendor}
Our result will look like this:
4.2. Using InfoContributor Interface for Dynamic Information
We can use Info.Builder to build the information from various sources such as a database, remote API, environment variables, or even hardcoded values.
First of all, create a new class CustomInfoContributor that implements the InfoContributor interface. Now, override its contribute() function.
In the following example, we are autowiring the Environment to get Spring runtime environment information and add it to our endpoint.
import org.springframework.beans.factory.annotation.Autowired;
import org.springframework.boot.actuate.info.Info;
import org.springframework.boot.actuate.info.InfoContributor;
import org.springframework.core.env.Environment;
import org.springframework.stereotype.Component;
@Component
public class CustomInfoContributor implements InfoContributor {
@Autowired
private Environment environment;
@Override
public void contribute(Info.Builder builder) {
builder.withDetail("port", environment.getProperty("local.server.port"));
builder.withDetail("profiles", environment.getDefaultProfiles());
}
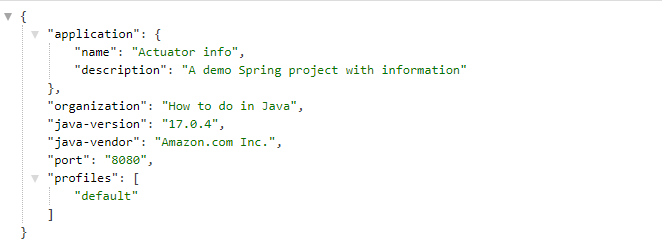
}We can autowire any bean such as DAO, Properties etc., and use them to populate dynamic data in the custom information.
And if we check the endpoint we can see the newly added properties:
4.3. Adding Build Information using Spring Boot Maven Plugin
We can add build information and additional properties to our /info endpoint using Spring Boot Maven Plugin. Spring Boot Actuator will show build details if a proper META-INF/build-info.properties file is present.
The Spring Boot Maven plugin has a build-info goal to create this file. We should add the plugin to our pom.xml file and the build-info goal.
<plugins>
<plugin>
<groupId>org.springframework.boot</groupId>
<artifactId>spring-boot-maven-plugin</artifactId>
<version>2.7.3</version>
<executions>
<execution>
<goals>
<goal>build-info</goal>
</goals>
</execution>
</executions>
</plugin>
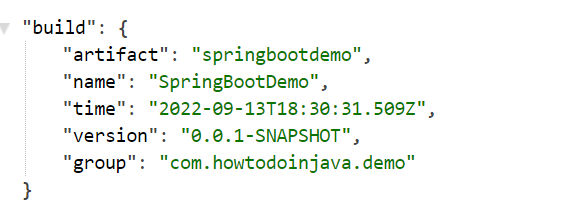
</plugins> After adding the plugin we can run the maven clean install command and rerun the project. Check the /info endpoint, and we will see that a new ” build ” section has been added automatically.
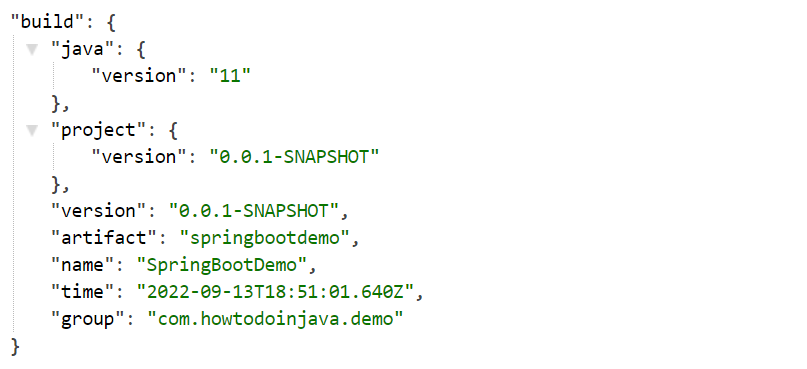
More than that, we can add more properties (static or dynamic) in the info endpoint by adding the properties in the <additionalProperties> tag.
<plugin>
  <groupId>org.springframework.boot</groupId>
  <artifactId>spring-boot-maven-plugin</artifactId>
  <version>2.7.3</version>
  <executions>
    <execution>
      <goals>
        <goal>build-info</goal>
      </goals>
      <configuration>
        <additionalProperties>
          <java.version>${java.version}</java.version>
          <project.version>${project.version}</project.version>
        </additionalProperties>
      </configuration>
    </execution>
  </executions>
</plugin>
Rebuild and run the application. The new properties will reflect the output.
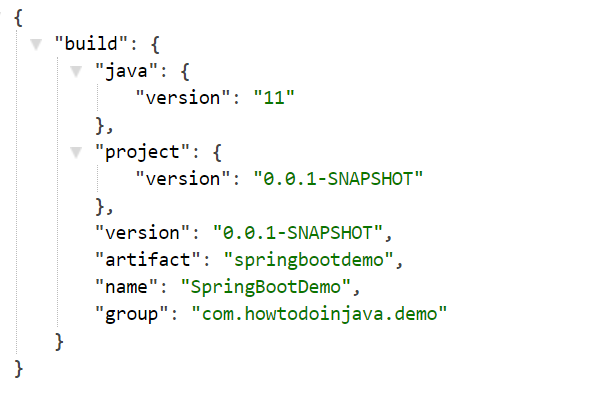
We can customize even more by excluding unwanted build properties using the excludeProperty tag.
<excludeInfoProperties>
    <infoProperty>time</infoProperty>
</excludeInfoProperties>
After adding the configuration above the new response will look like this: The time property is no longer visible.
5. Conclusion
This Spring boot tutorial examined various methods to add custom data to our /info endpoint. This endpoint may provide very useful information about our project but may also be a sensitive endpoint that should not be exposed to everyone.
Happy Learning !!